

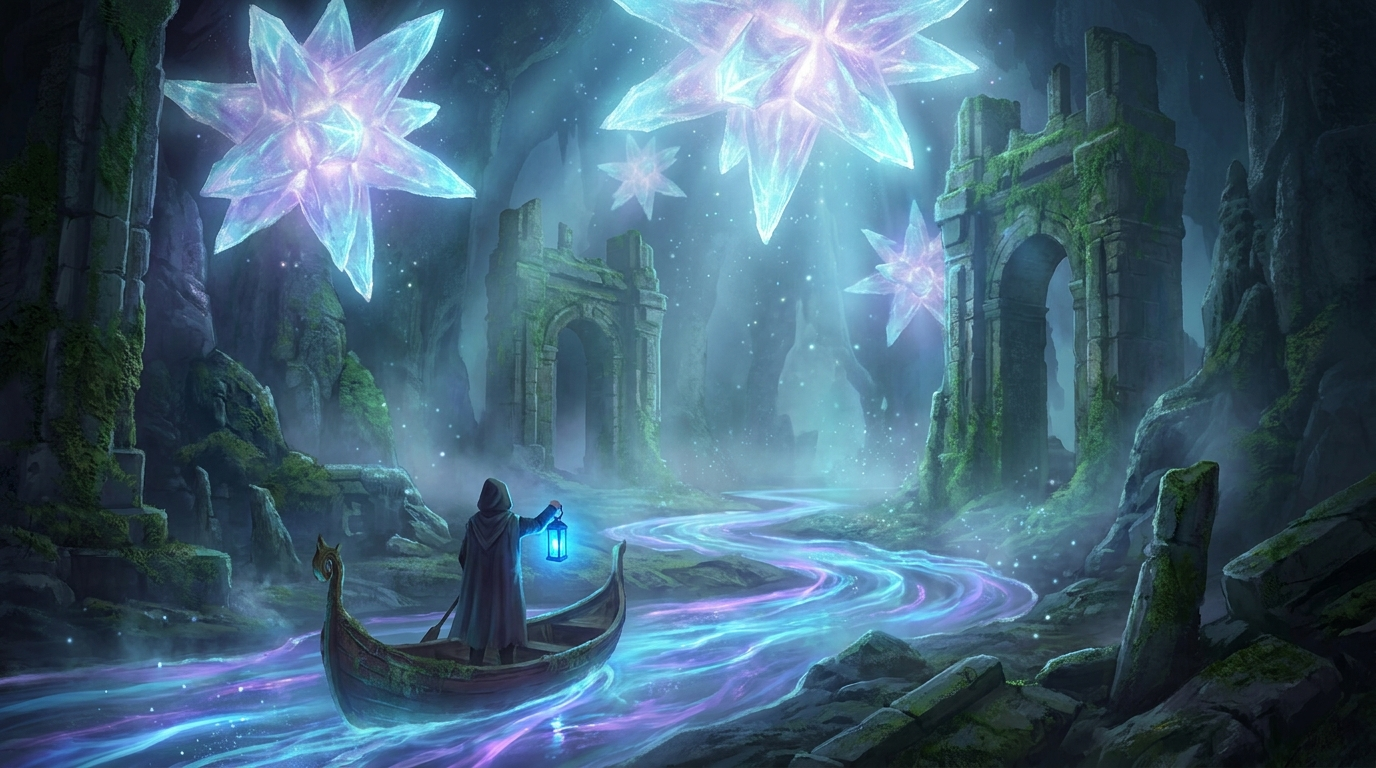
Ainsel River: Your Ultimate Guide to the Underground
Have you ever felt the sheer vertigo of stepping onto a stone platform and descending into the ainsel river for the very first time? The sheer scale of the descent alone is enough to make your stomach drop. Honestly, I still remember my very first playthrough vividly. I was just casually wandering around the foggy eastern edge of Liurnia of the Lakes, dodging those absolutely terrifying giant lobsters and just trying to survive the local wildlife, when I stumbled upon this quiet, unassuming well building tucked away near the cliffs. I pulled the heavy iron lever, stepped onto the pressure plate, and the atmospheric music instantly shifted. The elevator ride down took so long I actually put my controller on the desk to take a sip of coffee. When the massive gears finally clunked to a halt, a breathtaking, starry underground cavern opened up before my eyes. It felt totally alien and completely magical. You are instantly transported from a typical fantasy landscape into a bizarre, glowing subterranean ecosystem that defies all logic. If you are trying to figure out how to survive this massive cavern without losing all your runes, you are absolutely in the right spot. We are going to break down every single secret, enemy trap, and massive piece of loot hiding in the dark. It is not just about grabbing the map fragment and running away as fast as possible; it is about completely conquering one of the most visually stunning locations ever designed. Grab your virtual lantern, because we are going deep into the dark.
The Core of the Cavern: What Makes It Special
Understanding the layout of this massive underground zone is crucial because it is actually split into two completely separate physical tiers that you cannot easily cross between without fast travel or specific quests. The lower tier is accessed from the well in Liurnia, while the upper tier, often leading into Nokstella, requires you to follow a specific witch’s questline to unlock a waygate. The sheer verticality of the design means you can literally look up from the bottom floor and see items you won’t be able to reach for another twenty hours of gameplay. This creates a brilliant sense of progression and mystery. Let me break down the main zones for you so you know exactly what you are walking into.
| Section Name | Primary Access Point | Major Threat Level |
|---|---|---|
| Southern River Main | Liurnia Well Elevator | Giant Worker Ants |
| Uhl Palace Ruins | Downstream Water Flow | Malformed Star Gravity Magic |
| Northern Nokstella | Renna’s Rise Waygate | Silver Tears & Nox Monks |
The true value of taking the time to thoroughly explore this cavern comes down to the massive upgrades available for your character. For instance, if you are running a magic build, you can pick up the Wing of Astel, a tremendously powerful curved sword that fires magic projectiles for zero mana cost. Another great example is the Hermit Merchant hidden away in the ruins, who sells exactly the gravity stones and lost ashes of war you need to customize your build.
Here are the absolute top three reasons you absolutely must clear this area:
- Essential Upgrade Materials: The riverbanks are absolutely packed with high-tier Ghost Gloveworts, which are totally mandatory if you want to upgrade your elite spirit ashes to maximum power.
- Crucial Quest Progression: Exploring the upper levels is a hard requirement for completing one of the most beloved and complex NPC questlines in the entire game, ultimately unlocking a completely different ending.
- Overpowered Magical Loot: From unique gravity spells hidden in the rocks to incredibly strong talismans that boost your damage output, the sheer density of high-level gear here is unmatched.
Origins of the Subterranean Waters
To truly appreciate where you are walking, you need to understand the history of the rocks beneath your feet. Long before the golden Erdtree dominated the surface world, these underground rivers were the lifeblood of massive, sprawling civilizations. The original inhabitants built grand structures down here to escape the watchful eyes of outer gods. The water flowing through this specific cavern originates from high above and slowly carves its way down, eventually draining into the horrifying Lake of Rot deep below. The architecture you see scattered around, specifically the massive stone pillars and arches, belongs to the ancient Uhl dynasty, a society that worshipped completely different deities.
Evolution of the Eternal Cities
As history marched on, the Nox people were banished deep beneath the earth for committing a high treason against the Greater Will. They were forced to build their Eternal Cities, like Nokstella, right along the banks of these subterranean waters. Because they missed the actual sky, they used highly advanced magic to create the glowing, false stars you see embedded in the ceiling of the cavern. It is honestly incredibly tragic when you think about it. They constructed these massive, beautiful domes entirely out of a longing for a sky they were no longer allowed to see. Even today in 2026, the massive online community of lore hunters is still actively debating what exactly happened to the giant, skeletal figures sitting permanently on those colossal thrones overlooking the ruins.
Modern State of the Ruins
Today, the area is basically a post-apocalyptic magical wasteland. The original builders are either dead or transformed into slimes, and nature has completely taken over. Giant insects have established massive colonies in the tunnel networks, using the bones of ancient warriors to build their nests. The water itself is stagnant in places, heavily guarded by Claymen who blindly patrol the ruins searching for a lost oracle. It is a perfect snapshot of a fallen empire, frozen in time and completely hostile to outsiders like you.
Architectural Mechanics of the False Sky
From a purely mechanical perspective, the way the game handles the environment here is fascinating. The glowing stars on the ceiling aren’t just a static skybox; they are physically rendered light sources that interact with the fog and humidity of the cavern. This creates dynamic shadows that can actually obscure enemy ambushes. The lighting mechanics are intentionally designed to draw your eye upward, which frequently causes players to miss the incredibly dangerous traps laid out on the ground floor. It is a brilliant piece of psychological level design.
Biological Anomalies in the Deep
The creature design here takes heavy inspiration from real-world biology but scales it up to terrifying proportions. The giant ants operate on a strict hive logic. You have massive, heavily armored soldier ants guarding the choke points, while winged variants patrol the larger open spaces. Then there are the Malformed Stars—horrifying creatures hanging upside down from the cavern ceiling. They use localized gravity magic to hurl massive boulders at you from across the map. Understanding their behavior is the key to not getting constantly crushed.
- Hitbox Mechanics: The giant ants have heavily armored heads that deflect light attacks; you absolutely must strike their softer abdomens to deal full poise damage.
- Gravity Sorcery Parameters: The rocks thrown by the Malformed Stars track your movement based on your current velocity. Stopping suddenly and rolling forward is statistically the safest way to avoid the area-of-effect splash damage.
- Claymen Hyper-Armor: The slow-moving mud men have incredibly high resistance to standard slashing weapons but will shatter instantly if you hit them with blunt strike damage or heavy explosives.
- Environmental Triggers: Running loudly through the shallow water generates a specific noise profile that pulls enemy aggro from a much wider radius than running on solid stone.
Step 1: The Descent and the Well
Your journey begins in the eastern wetlands. First, locate the well building surrounded by massive magical bears. Once inside, take the incredibly long elevator ride down to the bottom. Light the very first Site of Grace you see. Look around and take a moment to equip a reliable lantern or torch, because the next section is going to be pitch black and incredibly claustrophobic.
Step 2: Navigating the Ant Tunnels
Leave the grace and head down the narrow tunnel. You will immediately hear the clicking mandibles of the giant ants. Do not rush into the open room. Pull them one by one using throwing daggers or a basic spell. Use fire damage if you have it, as they are highly vulnerable to burning. Hug the right wall to find a secret side passage that leads to some excellent upgrade materials.
Step 3: Surviving the Uhl Palace Ruins
Once you exit the tunnels, the cavern opens up massively. You are now in the ruins. Immediately look up and to the right—you will see a horrifying creature hanging from the ceiling. It is going to start firing rocks at you. Use the massive stone pillars for cover. Sprint from pillar to pillar right as the rocks hit the ground. Your goal is to get directly underneath it where its rocks cannot reach you.
Step 4: Finding the Hermit Merchant
While taking cover in the ruins, look for a large, structurally intact stone building located dead center beneath the hanging monster. Carefully sprint inside. You will find a friendly merchant sitting quietly by a campfire. Buy his gravity stones and definitely purchase the cookbook he is selling, as it allows you to craft highly useful resistance items for the rest of your subterranean trip.
Step 5: Defeating the Dragonkin Soldier
Follow the river downstream until you reach a massive open basin filled with shallow water. As you approach the massive throne, a boss will literally drop from the ceiling. This massive humanoid enemy uses incredibly sweeping slam attacks. The best strategy is to stay unlocked and roll directly under his legs. Watch out for his second phase where he infuses his attacks with blue freezing lightning. Once defeated, you get a powerful incantation.
Step 6: Accessing the Nokstella Waygate
To reach the upper level, you have to leave the cavern entirely and progress through a specific witch’s questline on the surface. Once you give her a hidden treasure, a waygate activates at the top of a tower in the northwest. Taking this portal teleports you directly to the upper banks of the river, granting you access to an entirely new section filled with silver slimes and hidden treasures.
Step 7: Preparing for the Lake of Rot
As you push through the upper Nokstella section, following the water flow, you will eventually find another elevator taking you even deeper. Before you step on it, ensure you have crafted a massive amount of preserving boluses to cure status effects. The river naturally drains into a massive, poisonous lake below. You want to make sure your inventory is fully stocked before making that final, horrible plunge.
Myth: The Area is Disconnected
Myth: The river is just a totally random, disconnected side dungeon that has nothing to do with the rest of the world.
Reality: It physically flows directly into the Lake of Rot and sits systematically above the Deeproot Depths. The geographical layout perfectly aligns with the massive crater on the surface, making it an incredibly cohesive part of the world map.
Myth: One Trip is Enough
Myth: Once you clear the lower section from the well, you have seen everything there is to see and never need to return.
Reality: You absolutely have to return later via a completely different entrance to access the northern half. The game intentionally blocks you from exploring the whole thing in a single sitting.
Myth: Fire is the Only Option
Myth: You must use fire spells or fire grease to effectively kill the giant insects patrolling the tunnels.
Reality: While fire works beautifully, standard blunt strike weapons completely bypass their heavy armor plating. A simple, heavy mace will actually perform significantly better than a weak fire spell.
Myth: The Hanging Monster is Invincible
Myth: The giant rock-throwing creature hanging from the ceiling cannot be killed and you just have to run past it forever.
Reality: You can absolutely kill it. You can snipe it safely from behind a pillar using a greatbow, or use long-range magic to permanently drop its health to zero, making the area completely safe to explore.
Where exactly is the map fragment?
You can find the map piece sitting quietly on a corpse right inside the main ruins, located in the exact same room where the merchant is hiding. Just run past the rock barrages to grab it.
How do I access Nokstella?
You cannot reach Nokstella from the basic well elevator. You must complete the early stages of a specific ice witch’s questline to unlock a magical portal that teleports you to the upper cliffs.
Can I summon spirit ashes here?
Yes, but only in specific designated combat zones, primarily during the boss fight in the large open basin and near massive enemy encampments. Watch for the tombstone icon on your screen.
Who is the main boss?
The primary boss of the lower tier is the Dragonkin Soldier of Nokstella, a massive, mutated giant who utilizes sweeping physical strikes and freezing blue lightning attacks in his second phase.
Are there any merchants down here?
Absolutely. There is a single Hermit Merchant hiding in the stone building right beneath the hanging monster. He sells very valuable crafting recipes and unique magical items.
What level should my character be?
For a comfortable experience in the lower section, you should ideally be around level 50 to 60 with moderately upgraded weapons. The upper Nokstella area demands a much higher level, closer to 70 or 80.
How do I safely dodge the massive rocks?
Do not run in a straight line. Use the environmental pillars for cover, wait for the barrage to completely finish, and quickly sprint to the next piece of cover while the monster reloads.
Ultimately, surviving the massive, sprawling darkness of the ainsel river is an incredibly rewarding experience that perfectly captures the magic of exploring the unknown. From the genuinely terrifying ant tunnels to the incredibly beautiful, starry ruins, every single corner of this subterranean map offers a brand-new challenge and spectacular loot. Do not let the giant bugs or the horrifying gravity magic scare you away from claiming those massive rewards. Boot up your game, prepare your absolute best gear, stock up on some heavy arrows, and head down that elevator to conquer the dark today!
Leave a Reply