

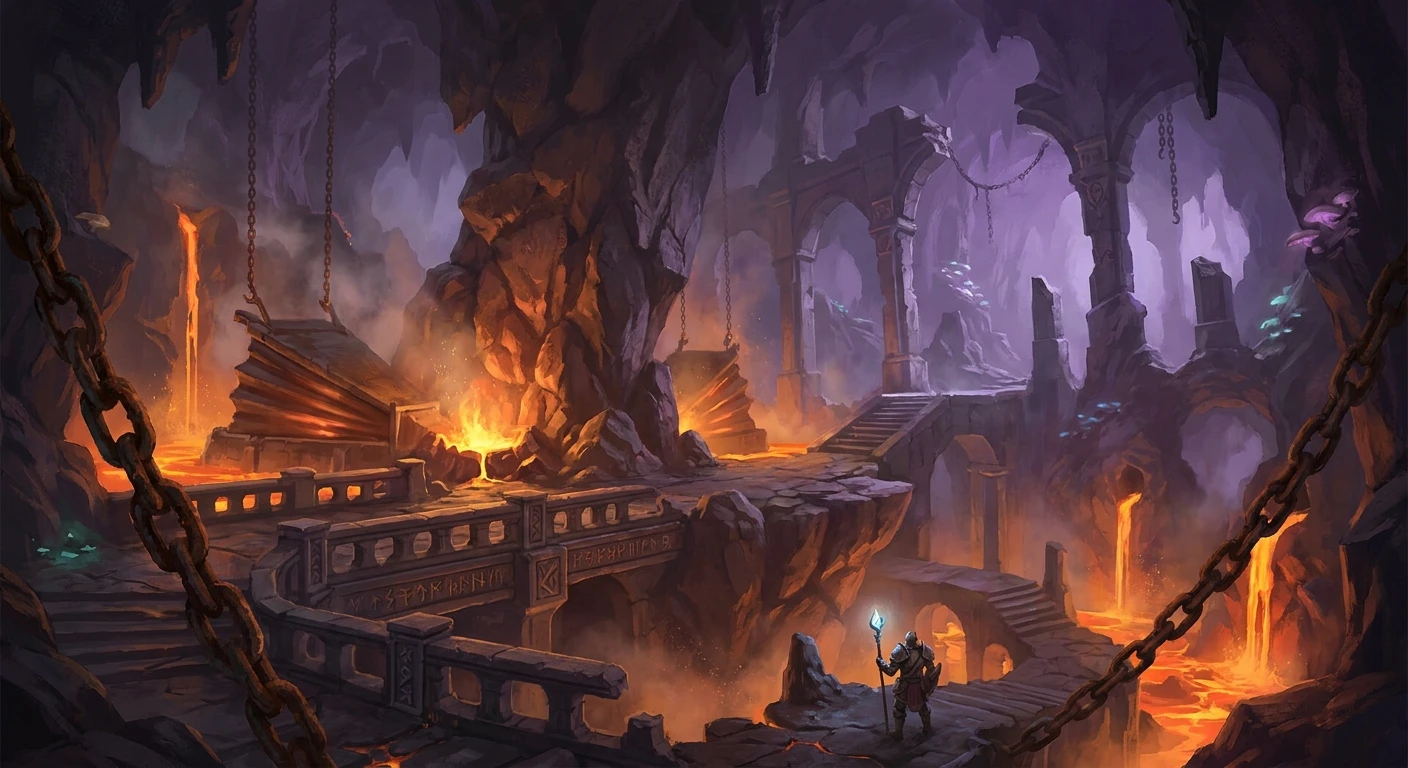
Mastering the grymforge map: Your Ultimate Guide
Let me tell you, trying to decode the grymforge map on your first playthrough is basically a rite of passage. I still remember sitting in a dimly lit, cozy coffee shop in Kyiv during a rainy afternoon, clutching my laptop while navigating this massive underground labyrinth. Outside, the city was bustling, but I was entirely lost in an abyssal cavern. It was totally wild. You know that feeling when you just step off the boat and the sheer scale of the cavern completely overwhelms you? That was me, staring blankly at the screen, desperately trying to figure out where the traps ended and the treasures began. A solid thesis for any adventurer tackling this zone is this: understanding the exact architectural layout doesn’t just save you precious time; it radically shifts the odds of survival heavily in your favor. If you wander aimlessly, the molten rivers, the hostile mercenaries, and the ancient mechanical guardians will wipe out your squad in minutes. But if you have a rock-solid mental image of the vertical pathways and hidden ledges, you completely dictate the flow of combat and exploration. I’ve spent entirely too much time mapping every single hidden ledge, trapped corridor, and secret cache so you don’t have to suffer the same frustrating trial-and-error I did. By learning the terrain, you turn a terrifying dungeon into your own tactical playground.
So, why exactly is this specific underground sector so notoriously difficult to navigate? It all comes down to intense verticality and completely disconnected zones. When you look at the topographical layout, you aren’t just scanning a flat surface. It’s a massive, multi-tiered fortress suspended over fire. The value of mastering these pathways is incredibly massive. For example, knowing exactly where the secret Harper cache is located means you secure rare magical gear early on, completely bypassing the heavily guarded main gate. Another prime example is the explosive runepowder vial—if you chart the perfect route, you can sneak right up to the gnome hiding it without ever triggering a hostile encounter.
Here is a quick reference breakdown of the most critical zones you absolutely need to lock into your brain:
| Zone Name | Crucial Loot / Objective | Primary Hazard |
|---|---|---|
| The Abandoned Docks | Boots of Speed, Basic Camp Supplies | Hostile patrols and ambushes |
| The Suspended Walkways | Harper Stash, Rare Spell Scrolls | Gargoyle traps, pressure plates, pits |
| The Ancient Adamantine Forge | Adamantine Weapons and Armor | Lava fields and a massive mechanical guardian |
If you want to absolutely dominate this area, you need to stick to a clear tactical approach. Here is how I usually run it when I boot up a new campaign:
- Clear the perimeter first: Don’t rush straight to the center. Walk the extreme outer edges of the area to unlock waypoints and spot alternative entry points. This strategy gives you a safe retreat line if a fight goes bad.
- Exploit the vertical terrain: Always look up. Many of the best shortcuts require you to climb overgrown vines or use enhanced jumping abilities to reach suspended catwalks that completely bypass heavily armed enemy lines.
- Scout with expendables: Use a summoned familiar or send a rogue in stealth to trigger proximity traps. The layout is packed to the brim with hidden explosives that will instantly ruin an unprepared squad if you just blindly walk forward.
Origins of the Sharran Sanctuary
Let’s talk about the background because the historical lore actually explains why the layout is so chaotic. Originally, this massive subterranean complex wasn’t just a generic mining camp; it was a highly dedicated sanctuary to Shar, the goddess of darkness and loss. The architecture reflects this deeply. You will notice that the stone pathways are intentionally confusing, built to totally disorient intruders. The original builders carved these halls into the living rock to hide their most sacred relics from the surface world. When you find yourself hitting random dead ends or looping back around to the same staircase, remember that it was designed specifically to frustrate anyone who wasn’t initiated into their secret ranks. The beautiful structural bones of the sanctuary still exist right under all the rubble.
Evolution of the Forge
Over the centuries, the original purpose of the sanctuary was aggressively hijacked. A massive industrial forge was constructed right over the underground lava rivers. This evolution meant that the elegant, symmetrical halls of the temple were suddenly crossed with brutalist industrial catwalks and massive iron gears. The harsh collision of these two totally distinct architectural styles is exactly why the current navigation feels so erratic. You go from walking through polished marble corridors straight into jagged, iron gangways hanging over molten rock. The transition forces players to adapt constantly, switching your mindset from checking for magical illusions to dodging giant mechanical pistons.
Modern State in the Game
Fast forward to how we experience it today in 2026. After years of updates, patches, and obsessive community mapping, the modern understanding of this zone has crystallized completely. What used to be a terrifying maze during the early days of the game is now an open playground for tactical movement. Players have fully mapped out the exact jump distances required to sequence-break certain quests. The massive rubble that blocks the main paths isn’t just a random obstacle anymore; it’s a puzzle piece that guides the community’s preferred routing. Knowing the rich history helps you anticipate exactly where secret doors are likely hidden—usually right in the oldest, most ruined sections of the stone walls.
Level Design Mechanics
Behind the curtain, the way the game engine handles this specific environment is genuinely fascinating to think about. From a strict technical level design perspective, the area relies heavily on occlusion culling and complex collision meshes. Because the environment is a massive open cavern with insane draw distances, rendering the whole thing at once would melt your hardware. Instead, the engine cleverly uses the massive central pillars and collapsed stone arches to break line-of-sight rendering. This means when you are plotting your course, the map dynamically loads visual chunks of the environment based on your current camera angle. This is exactly why sometimes you simply can’t click to move to a ledge that looks perfectly accessible—the pathfinding node hasn’t recognized your line of sight yet.
Verticality and Pathfinding Algorithms
The real technical beast here is the Z-axis. Traditional isometric or top-down games keep things relatively flat to maintain simple logic, but this specific engine pushes vertical pathfinding to the absolute limit. When you instruct a character to walk from the lower docks all the way up to the high catwalks, the engine evaluates hundreds of navigation meshes simultaneously.
Here are a few quick technical facts about how the environment dynamically operates:
- NavMesh Layers: The map utilizes multiple overlapping navigation layers. If two paths cross at entirely different heights, the AI sometimes struggles to plot a route, which is why manual jumping is strictly required for advanced shortcuts.
- Environmental Trigger Volumes: The lava isn’t just a glowing orange texture; it’s a massive dynamic bounding box. Entering the Z-coordinate of this box triggers rapid damage ticks, calculated entirely independently from the turn-based combat timers.
- Dynamic Line of Sight: Floor traps are tied to perception checks that run on a spherical radius. The higher your elevation, the wider your visual detection cone against floor-based pressure plates down below.
- Camera Collision: The tactical camera uses invisible collision proxy models. This is why your view often gets stuck on the giant chains hanging from the ceiling. Using the tactical overhead view flattens the Z-axis for much easier clicking.
Step 1: Arrival at the Docks
The moment your boat docks, do not run straight ahead into the open. The immediate area is swarming with aggressive NPCs holding the high ground. Stay close to the water, strictly move left, and quietly loot the supply crates hiding in the shadows. You want to establish a solid tactical foothold before initiating any dialogue.
Step 2: Securing the Waypoint
Your absolute immediate priority is unlocking the fast travel point. Sneak up the primary stone stairs, completely avoiding the central gathering of mercenaries talking loudly. Hook a sharp right toward the ruined stone archway. Activating this node ensures that if everything goes terribly wrong, you have a totally safe respawn vector to fall back on.
Step 3: The Rubble and the Runepowder
Next, head directly toward the massive cave-in near the center. Don’t interact with the trapped animals just yet. Instead, navigate the hidden rock ledge to the upper right side of the rubble. This secret path leads you up a spiraling natural staircase to a frantic gnome hiding a massive explosive barrel. Grab a vial of it through peaceful dialogue.
Step 4: The Harper Stash Shortcut
With explosives in hand, backtrack and jump across the hanging iron cages near the ceiling. This wild acrobatics routine bypasses the entire heavily guarded lower section. You will eventually land directly in front of an illusionary wall hiding the secret Harper stash. Loot the three chests safely.
Step 5: Bypassing the Trapped Hallway
Move toward the massive double iron doors leading deeper inside. The central hallway is completely laced with hidden gargoyle fire traps. Do not walk down the middle. Hug the extreme left wall, disarm the very first plate, and then simply jump onto the raised stone rail. Walk slowly along the rail to bypass the remaining pressure plates entirely.
Step 6: The Ancient Forge Descent
Now you are finally looking over the edge into the glowing orange abyss. The long descent requires precision. Use a feather fall spell to gently drop down platform by platform. The standard ladders are totally exposed to enemy sightlines, so dropping down the ruined giant statues on the far left offers complete stealth.
Step 7: Confronting the Guardian
Finally, you reach the bottom floor. Before activating the central mechanism, position your squad manually on the four elevated circular platforms. This wide spacing prevents the incoming boss from hitting more than one person with its devastating area-of-effect attacks. Map out your retreat paths over the lava strictly before pulling the lever.
Let’s clear up some massive misconceptions that keep circulating on gamer forums and stressing out new players trying to clear the map.
Myth: You absolutely need magical flying abilities to explore the entire zone.
Reality: Completely false. While flying makes things much faster, every single hidden area, chest, and alternate route can be easily accessed using standard athletic jumps, stacked wooden crates, or discovering hidden levers that lower ladders. The spatial design strictly accommodates ground-based movement.
Myth: The lava instantly kills you if you touch it, ending your game immediately.
Reality: Touching the lava deals severe fire damage per tick, but it is absolutely not an instant death script. High-level characters equipped with fire resistance gear or potions can literally wade through the shallow edges for a few seconds to grab hard-to-reach loot without dying.
Myth: You have to fight the entire mercenary camp to progress the main quest.
Reality: If you map your route correctly, you can bypass almost every single mercenary. Using the upper rafters and natural cave tunnels allows you to slip in, finish your objectives, and slip out without ever rolling for initiative. Stealth is entirely viable and highly recommended.
FAQ
Where is the exact center of the map?
The waypoint shrine located near the main stone stairs serves as the geographical hub connecting all four main wings of the fortress.
Can I return here later in the game?
Yes, as long as you haven’t crossed the major point-of-no-return at the very end of the act, the waypoint remains fully active.
Are there timed quests here?
Yes, once you visually discover the trapped characters behind the rubble, leaving the area or long-resting too many times will cause the cave-in to crush them.
What level should I be for this area?
Level 5 is the absolute sweet spot. You get a massive power spike there that makes the vertical combat much easier to handle.
How do I open the massive locked adamantine doors?
You don’t pick them. You actually need to drop down from the broken stairs above them and bypass the lock entirely from the inside.
Is the Harper stash worth the effort?
Absolutely. The magical jewelry hidden inside drastically boosts your early-game survivability and movement speed.
Why is my camera glitching out?
The high ceilings and multiple floors constantly confuse the auto-focus logic. Switch to the tactical overhead view by zooming all the way out to fix it.
Navigating this massive underground fortress absolutely doesn’t have to be a nightmare. By truly understanding the layered architecture, utilizing the complex Z-axis, and strictly following our routing protocol, you can extract every piece of legendary loot without breaking a sweat. If you found this breakdown helpful, bookmark this page, share it with your co-op group, and start dominating your next run today!
Leave a Reply