

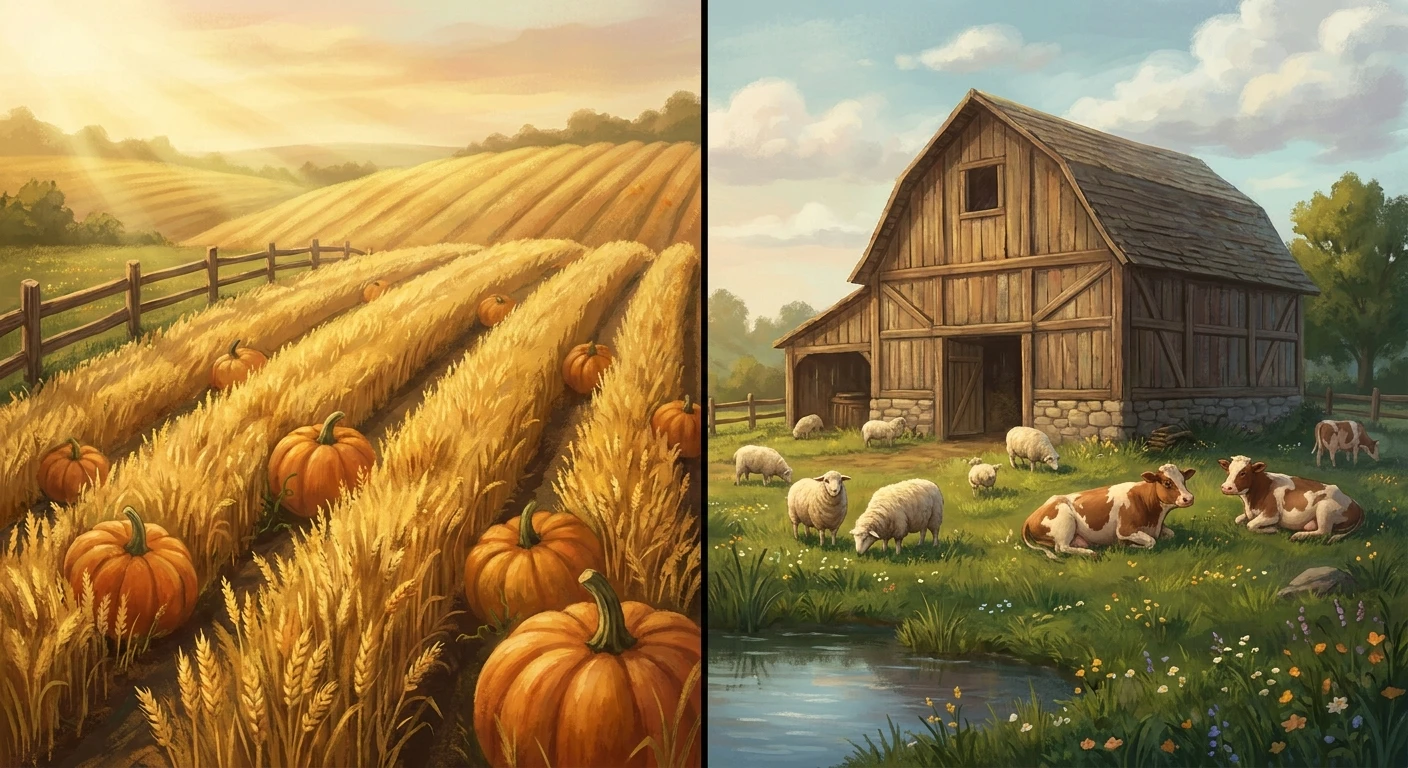
Choosing Between Stardew Valley Rancher or Tiller
Reaching Farming Level 5 is a massive milestone in your agricultural journey, and almost immediately you are faced with a pivotal question: should you pick the Stardew Valley Rancher or Tiller profession? This specific decision shapes your daily routine, dictates your farm layout, and ultimately governs your overall profit margins for many seasons to come. You are suddenly standing at a crossroads. Do you lean heavily into the charm of raising animals, petting them every morning, and collecting fresh produce from the coop? Or do you prefer the sprawling aesthetics of massive crop fields, carefully orchestrated sprinkler systems, and giant seasonal harvests? The choice between Stardew Valley Rancher or Tiller is not just a mathematical one; it defines your entirely unique playstyle. Both paths offer distinct advantages that cater to different visions of success. Some players want the cozy aesthetic of a crowded barnyard, while others want a hyper-optimized industrial farm pumping out thousands of blueberries. Let us break down the underlying mechanics, the long-term financial implications, and the exact gold-making potential of each route so you can make the absolute best choice for your farm’s future.
Understanding the Core Farming Mechanics
Grasping the raw mechanical differences between these two paths is essential for optimizing your daily farm operations. If you select Tiller, every single raw crop you sell instantly gains a flat ten percent price increase. If you select Rancher, all animal products—from standard brown eggs to premium dinosaur mayonnaise—receive a massive twenty percent price bump. On paper, twenty percent seems substantially better than ten percent. However, the sheer volume of crops a player can plant, water, and harvest usually tips the overall economic scale. You can easily grow hundreds of melons, but you can only house a limited number of pigs. Let us look closely at how these base values compare across different types of farming outputs.
Read also: Miner or Geologist Star Dew: The Ultimate Mining Guide; The Best life sim Strategy Guide.
| Farming Product Type | Base Strategy (Tiller) | Base Strategy (Rancher) |
|---|---|---|
| Raw Ancient Fruit | +10% Profit Margin | Standard Price (No Bonus) |
| Gold Star Mayonnaise | Standard Price (No Bonus) | +20% Profit Margin |
| Iridium Quality Truffles | Standard Price | +20% Profit Margin |
This table highlights the stark divide in your income streams depending on your choice. To make the best decision for your specific farm, you need to weigh several factors carefully.
- Daily Playstyle Preference: Do you actually enjoy walking into barns and coops to pet animals and collect goods manually, or do you prefer planting huge fields and letting automated iridium sprinklers do the heavy lifting?
- Equipment Processing Path: Are you planning to build dozens of kegs and preserve jars for your harvested fruits, or are you filling heavy sheds with cheese presses, looms, and mayonnaise machines?
- Late-Game Financial Goals: Will you eventually rely on the level 10 Artisan profession, which dramatically boosts the value of processed goods regardless of their origin, or do you want faster animal production speeds?
These three core pillars will dictate which path brings you the most joy and gold. Tiller heavily favors players who want passive income through mass agriculture, while Rancher rewards those who invest immense time and affection into their livestock every single day.
Origins of Farming Skills
When the game first launched years ago, the farming skill tree established a clear, unyielding dynamic between crop cultivation and animal husbandry. Early players quickly realized that the Stardew Valley Rancher or Tiller debate was one of the most defining aspects of their very first playthrough. Originally, deciding your profession felt incredibly permanent and heavily restricted your future strategies. Players who chose Rancher often felt left behind in the late game because massive ancient fruit wine empires simply generated significantly more raw gold than barns full of cows and chickens. You had to choose your path and live with the consequences indefinitely.
Evolution Through Updates
As massive content patches were released over time, the fragile balance between these two professions shifted significantly. The introduction of new automated machines, distinct animal types, and various high-tier artisan goods added brilliant layers of complexity to the Stardew Valley Rancher or Tiller choice. Ostriches, void chickens, and golden chickens introduced entirely new economic variables for dedicated Ranchers. Meanwhile, new high-value crops on Ginger Island and highly optimized keg layouts gave Tillers even more ways to scale their sprawling empires. The dynamic nature of the game economy meant that neither choice remained completely static, constantly challenging players to adapt their strategies.
Modern State of Farming Professions
Today, the state of farming professions is incredibly balanced and highly customizable. The most significant shift in the game’s history was the addition of the Statue of Uncertainty located deep within the Sewers. This magical dog statue allows players to change their professions for a nominal fee of 10,000 gold. Suddenly, the initial choice at level 5 was no longer a lifetime commitment. You can start your first year as a Rancher to maximize your early-game mayonnaise and cheese profits, then seamlessly swap to a Tiller right before you sell a massive stockpile of starfruit wine. This modern flexibility completely revolutionized the farming meta.
The Mathematics of Profit Margins
Digging into the underlying mathematics reveals exactly how the Stardew Valley Rancher or Tiller mechanics function under the hood of the game engine. The game calculates these bonuses additively in some specific cases and multiplicatively in others. Tiller applies a flat ten percent increase directly to the base sell price of crops, meaning a raw vegetable worth 100 gold sells for 110 gold. Rancher applies a twenty percent increase to animal products, turning a 100 gold egg into a 120 gold egg. However, you absolutely must factor in the frequency of harvests. Animals produce daily, offering a steady, reliable drip of enhanced income. Crops often take a week, two weeks, or an entire season to grow, meaning the Tiller bonus comes in massive, delayed financial spikes rather than daily deposits.
Synergy with Artisan Goods
The most critical mathematical factor in this economic equation is the level 10 profession you unlock next. Let us look at the hard scientific facts regarding skill synergies that dictate endgame wealth.
- Choosing Tiller at level 5 unlocks the Artisan profession at level 10, granting a staggering forty percent boost to almost all processed goods, including both wine and cheese.
- Choosing Tiller also unlocks the Agriculturist profession at level 10, which accelerates crop growth speed by ten percent, stacking beautifully with deluxe Speed-Gro fertilizers.
- Choosing Rancher unlocks the Coopmaster profession, cutting the incubation time for eggs in half and improving the quality of coop animals significantly faster.
- Choosing Rancher also unlocks the Shepherd profession, making barn animals produce quicker and requiring less daily petting time to reach maximum friendship hearts.
Understanding these precise technical pathways proves that Tiller is widely considered the absolute optimal route for endgame wealth, purely because the Artisan buff applies a forty percent multiplier to nearly everything you produce, overshadowing the early benefits of ranching.
Step 1: Early Spring Crop Focus
During your very first few days in Pelican Town, you should focus entirely on planting parsnips, potatoes, and kale. Maximize your limited early-game energy usage by watering as many crops as possible every single morning to rush your farming experience points. Do not worry about animals yet, as you lack the funds and resources to build coops.
Step 2: Securing Your First Silo
Before you even think about buying your first chicken, build a silo through Robin at the Carpenter Shop. Harvesting wild grass with your scythe ensures you have enough hay stockpiled to feed your future livestock throughout the winter, setting the perfect stage if you decide to lean heavily toward a ranching lifestyle later on.
Step 3: Hitting Level 5 Farming
Around the middle of Spring in year one, you will hit level 5. This is when the crucial Stardew Valley Rancher or Tiller choice appears. For a financially optimized run, select Tiller, as early game crops scale much faster than your ability to buy, feed, and house dozens of animals.
Step 4: Accumulating Processing Equipment
Start tapping oak trees immediately to gather precious oak resin. You will need massive quantities of resin to craft lucrative kegs. At the same exact time, build a few preserve jars to process cheaper crops into high-value jellies and pickles, ensuring your daily income remains incredibly strong.
Step 5: Unlocking the Sewers
Donate sixty unique artifacts and minerals to Gunther at the museum to earn the Rusty Key. This unlocks the Sewers, granting you unlimited access to the Statue of Uncertainty. This is your ultimate safety net, allowing you to change skills whenever your farm strategy pivots.
Step 6: Transitioning to Artisan Goods
Once you finally reach Farming level 10, select the Artisan profession. Stop selling raw crops entirely. Process everything through kegs, preserve jars, mayonnaise machines, and cheese presses to leverage that absolutely incredible forty percent profit multiplier.
Step 7: Endgame Farm Optimization
Finally, establish a highly optimized hybrid farm. Build multiple deluxe barns filled exclusively with pigs for truffles, and surround them with massive fields of ancient fruit. Because you have the Artisan profession, both your truffle oil and your ancient fruit wine will sell for absolutely astronomical prices.
Debunking Farming Profession Misconceptions
Myth: Rancher is completely useless for making money and should never be chosen under any circumstances.
Reality: Rancher is incredibly powerful in the early game. If you rush coops and barns, the twenty percent boost on mayonnaise and cheese provides a massive, reliable daily income that vastly outpaces early game crops.
Myth: You are permanently locked into your level 5 profession choice forever, ruining your save file if you click the wrong button.
Reality: You can easily switch your skills using the Statue of Uncertainty in the Sewers for a totally affordable 10,000 gold, allowing endless experimentation.
Myth: Tiller magically affects all foraged items you pick up around the map, including wild berries.
Reality: Tiller strictly applies to cultivated crops grown on your farm. Foraged items rely entirely on your Foraging skill tree, specifically the Gatherer and Botanist professions, which ensure iridium-quality pickups.
Myth: Rancher applies to Artisan goods made from animal products, boosting cheese and mayonnaise indefinitely.
Reality: Rancher only applies to raw animal products like raw milk, raw eggs, and raw truffles. Once you turn milk into cheese, it requires the Artisan profession for a financial boost.
Does Tiller affect Artisan goods directly?
No, Tiller only affects raw, unprocessed crops. You need to reach level 10 and select the Artisan profession to boost processed goods.
Can Rancher make pigs more profitable?
Yes, raw truffles significantly benefit from the Rancher buff because the game engine classifies them strictly as animal products.
How much does it cost to switch skills in the sewers?
It costs exactly 10,000 gold each time you use the Statue of Uncertainty to reset a skill tree.
Does Tiller boost the value of fruit tree fruits?
Yes, raw fruits harvested directly from mature fruit trees receive the ten percent Tiller buff when placed in the shipping bin.
Do Coopmaster and Shepherd require Rancher?
Yes, those two specialized level 10 professions are completely locked behind the initial level 5 Rancher choice.
Which skill makes more money in year one?
Tiller generally generates substantially more wealth in year one because seeds are much cheaper to scale than building multiple deluxe barns.
Is the Artisan profession the ultimate goal for most players?
Yes, because the forty percent bonus on all processed goods mathematically dwarfs all other farming buffs combined.
In the end, the choice between the Stardew Valley Rancher or Tiller paths dictates your entire farming trajectory from the first Spring to late-game perfection. While Rancher offers a cozy, incredibly steady daily income perfect for animal lovers, Tiller paves the golden road toward the unmatched Artisan profession. Evaluate your preferred playstyle, sketch out your dream farm layout, and get ready to maximize your profits today! Pick up your watering can, pat your chickens, and watch your gold count soar.
Leave a Reply