

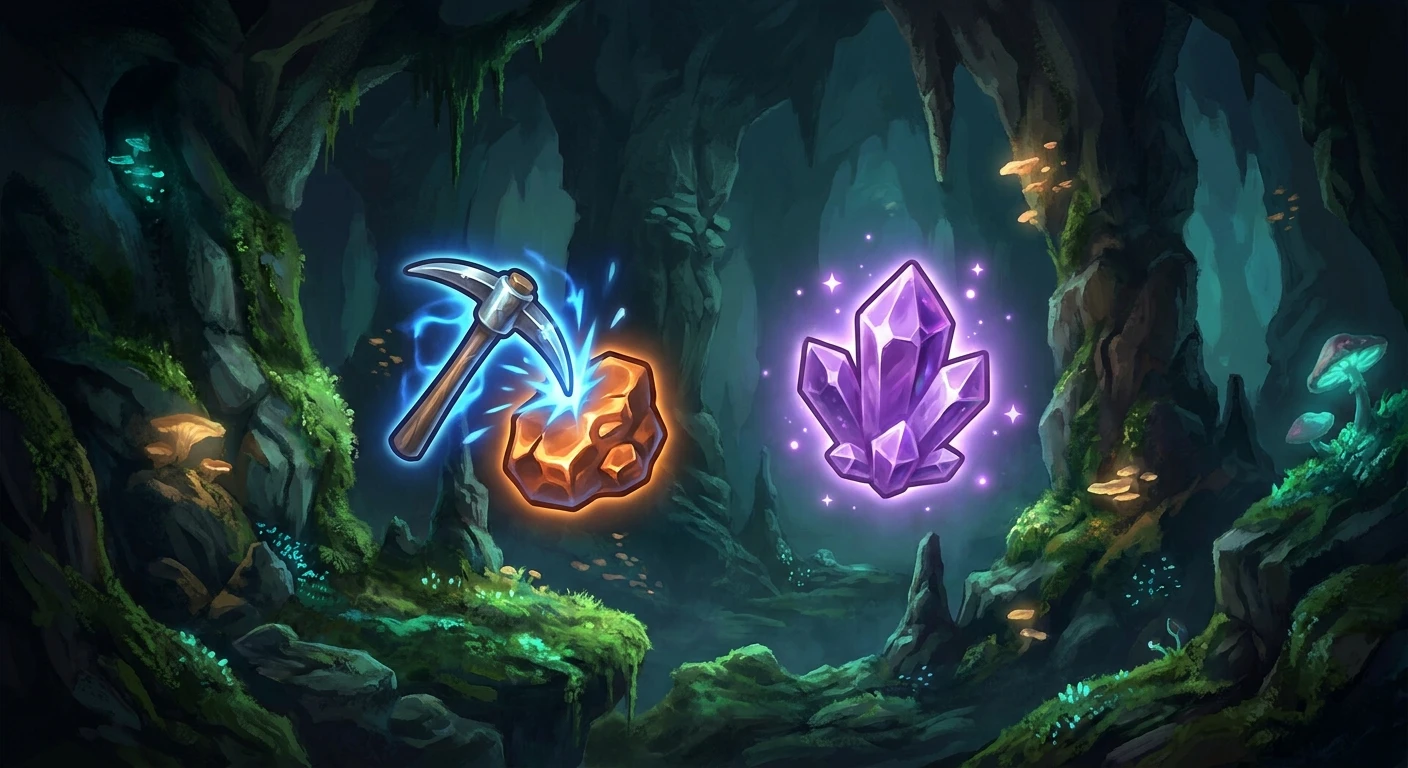
Choosing Between Miner or Geologist Star Dew
Figuring out whether to pick the Miner or Geologist Star Dew profession is a fundamental crossroad every player faces upon reaching mining level five. Your decision dictates your entire economic trajectory for the first year of your farming adventure. The mining skill tree dictates exactly how efficiently you gather raw materials from the local caves. Picking the right path determines whether you struggle to build basic automated sprinklers or effortlessly construct massive, sprawling keg empires across your fields. The focus here relies purely on the mathematical advantages each specific branch provides to your daily routine. The extra ore from the miner path dramatically accelerates your basic farm infrastructure, while the duplicated gems from the geologist path offer immediate, massive cash injections. As you swing your starting pickaxe through the dark, monster-filled levels of the mines, the sheer volume of rocks you break makes this level five choice incredibly impactful. Knowing exactly how these mechanics function under the hood prevents costly, time-consuming mistakes. You want the absolute highest return on your daily energy investment. Every single swing consumes precious stamina, so ensuring you extract maximum value from every single node guarantees a prosperous agricultural operation from spring to winter.
Core Benefits and Value Proposition
When evaluating the core benefits of each profession, you must measure immediate utility against your long-term profit goals. The extra ore from the miner profession guarantees an additional piece of copper, iron, gold, or iridium every single time you break a corresponding metallic node. This represents a massive twenty-five to thirty-three percent overall increase in your base yield depending on the node type. On the other hand, the geologist profession provides a flat fifty percent probability that any gem node will drop two gems instead of just one. This powerful duplication applies to earth crystals, frozen tears, fire quartz, diamonds, rubies, and emeralds. To visualize the contrast clearly, look at this direct comparison of the two distinct paths.
Read also: Thorn Catalyst Guide: Unlock Its True Power; Exploit the pokemon fighting weakness Now.
| Profession Path | Level 5 Bonus Mechanic | Optimal Late Game Use Case |
|---|---|---|
| Miner | +1 Ore per metallic vein | Mass producing metal bars for crafting kegs |
| Geologist | 50% chance for gem duplication | Farming Crystalariums for passive income |
| Flexibility | Statue of Uncertainty access | Switching paths based on current farm needs |
Understanding the actual value proposition requires looking at concrete, mathematical examples. First, an early diamond duplication yields seven hundred and fifty extra gold instantly, which easily funds massive bag space upgrades at Pierre’s shop. Second, extracting an extra gold ore per node means you can smelt solid bars significantly faster to craft those highly desired quality sprinklers before summer begins. Third, duplicated fire quartz from the deeper mine levels can be quickly smelted into three refined quartz pieces, completely bypassing the tedious need to recycle broken glasses and soggy newspapers. Here are three critical reasons to favor specific paths during your playthrough:
- Early game crafting demands massive amounts of raw copper and iron for building essential tappers, silos, and mayonnaise machines.
- Mid-game money generation heavily relies on gem duplication to fund expensive tool upgrades at Clint the blacksmith.
- Late-game completion requires extensive iridium ore reserves, making the extra ore drop highly lucrative for fixing the hidden boat leading to Ginger Island.
Origins of the Mining Skill
The initial design of the mining system prioritized raw survival and gradual, methodical progression. Early versions of the game established the level five choice as a strict, permanent commitment. Players had to carefully weigh their decision from day one because there was absolutely no mechanism to reverse it later. The fundamental code for resource generation always favored players who spent entire consecutive days mapping out the floors and breaking every single rock. The miner path was initially viewed as the only viable option because automated crop watering was universally considered the most critical mechanic to master early on.
Evolution of Node Spawns
Over various massive update cycles, the developers actively adjusted the overall frequency of gem spawns and base ore distribution. The introduction of completely new danger zones altered how often players encountered high-value nodes. The in-game economy fundamentally shifted when automated processing machines became more prominent, pushing the hardcore community to calculate exact, mathematical optimal yields per hour of real-time play. We saw patches that drastically changed the spawn rates of mystic stones, directly buffing the potential profitability of both profession trees depending on your daily luck stat.
Modern State of the Profession Meta
Current optimal strategies heavily favor adapting dynamically to your immediate seasonal needs. The community consensus strictly dictates that raw materials hold significantly more intrinsic value during the first in-game year. Once a player establishes a fully automated farm heavily relying on iridium sprinklers, the meta dramatically shifts toward maximizing pure profit through crystallized gems. This fluid, ever-changing approach defines exactly how veteran players navigate the dangerous caves today. They treat their profession choice as a temporary tool rather than a permanent identity, utilizing game mechanics to optimize every single day.
Random Number Generation in Node Drops
The game engine utilizes a highly specific algorithm to determine exactly what items drop from a shattered rock. The code calculates a pseudo-random mathematical value based on your hidden daily luck, active food buffs, and the specific geographic coordinates of the rock on the floor. However, the geologist fifty percent duplication effect operates entirely independently of your daily luck stat. It is a flat, unmodifiable coin flip executed the exact frame the pickaxe breaks the node. This means you do not need to wait for a maximum luck day to benefit heavily from the geologist perk.
Analyzing the Geode Crush Mechanics
Geodes function on a completely fixed seed system firmly tied to your specific save file. The predetermined contents of a geode are mathematically locked the exact moment you create your farm character. Bringing geodes to the blacksmith simply reveals what the code already established. Here are the highly technical facts driving these core mining mechanics:
- The miner bonus adds precisely one raw unit of ore to the total drop calculation, completely overriding the standard random generation range.
- Geode contents absolutely cannot be altered by daily luck; the sequence of items is permanently locked in your specific save file data.
- The double gem chance rolls completely separately for each individual item dropped from a multi-drop node, maximizing your potential overall yields.
- Radioactive nodes fully inherit the plus-one ore benefit from the miner skill, significantly boosting endgame resource collection.
Step 1: Evaluating Your Crafting Needs
Assess your current farm layout meticulously. If you lack basic automated sprinklers, you must prioritize raw ore collection immediately. Count exactly how many copper and iron bars you need to finish your current projects. If you are constantly running out of coal to smelt your ore, your immediate goal should dictate your mining strategy for the week.
Step 2: Hitting Level 5 Quickly
Focus entirely on breaking regular rocks in the early floors. Ignore low-level enemies whenever safely possible and utilize crafted staircases to reset floors rapidly. Experience points are awarded purely based on breaking rocks and nodes. The faster you clear floors, the faster you unlock the critical profession choice.
Step 3: Hoarding Geodes for the Blacksmith
Do not casually sell uncracked geodes by dropping them in the shipping bin. Store every single geode carefully in a wooden chest until you can afford to process them all at once. Opening geodes provides massive amounts of secondary minerals required for museum completion and crafting.
Step 4: Upgrading Your Pickaxe
Bring exactly five copper or iron bars directly to Clint alongside the required gold fee. A faster, upgraded pickaxe consumes significantly less daily energy and breaks sturdy nodes in far fewer swings. This time-saving upgrade drastically increases your daily yield multiplier regardless of which profession you ultimately selected.
Step 5: Preparing for the Skull Cavern
Craft massive amounts of cherry bombs and regular bombs. The extra ore skill synergizes perfectly with aggressive explosive mining because every shattered metallic node still grants the bonus yield. Explosives ignore your tool animation time, letting you clear entire screens of rocks in seconds.
Step 6: Utilizing the Statue of Perfection
Once you pass Grandpa’s mysterious evaluation at the beginning of year three, you receive a statue that grants daily raw iridium. This incredible passive income drastically reduces the immediate need for the extra ore skill, freeing you up to focus on pure gem duplication for late-game wealth.
Step 7: Switching Professions at the Statue of Uncertainty
Take exactly ten thousand gold down into the dark sewers. Pay the strange dog-like statue to completely reset your mining skills overnight. This incredible feature allows you to seamlessly transition from a heavy crafting focus directly to a highly lucrative pure gem-selling operation.
Debunking Common Mining Myths
Myth: The geologist path is completely useless during the first spring season. Reality: Finding an early diamond and naturally duplicating it provides a massive economic boost exactly when crop seeds are most expensive. Myth: The extra ore skill does not apply to late-game radioactive nodes found in the dangerous version of the mines. Reality: The plus-one bonus absolutely applies to radioactive ore, significantly reducing the tedious grind for late-game completion items. Myth: You are permanently locked into your level five profession choice forever with no way out. Reality: The sewer statue allows unlimited, immediate profession changes for a fixed gold fee, completely eliminating any long-term risk. Myth: Bombing massive clusters of nodes totally negates your profession bonuses. Reality: Explosives perfectly trigger all profession-based drop multipliers exactly as if you used your highest-tier pickaxe manually.
Does Miner affect bomb drops?
Yes, absolutely. Any metallic node broken by a bomb explosion perfectly applies your active profession bonuses. Using explosives is the most optimal way to farm massive amounts of ore quickly while retaining the plus-one bonus.
Do Geologists get double geodes?
The gem duplication chance directly applies to all geode types because the game code essentially categorizes them similarly to standard gems for this specific passive perk. This is incredible for farming omni geodes.
Which is better for the Skull Cavern?
Generally, the extra ore path heavily accelerates your overall production by providing significantly more iridium and gold per dive. However, if you rely entirely on purchasing staircases using duplicated jade, the geologist path is superior.
Does Miner stack with food buffs?
Food buffs directly increase your base mining proficiency and reduce energy consumption, but they do not magically stack to add a third bonus ore. They operate on completely separate mechanical systems.
Can I change my profession later?
Yes, you absolutely can. Simply visit the unlocked sewers with exactly ten thousand gold in your inventory to swap your profession at the mysterious statue at any time.
What are the Level 10 options for Miner?
You choose between the Blacksmith path, which increases the total sell value of all metal bars by fifty percent, and the Prospector path, which permanently doubles your chances of finding raw coal.
What are the Level 10 options for Geologist?
You choose between the Excavator path, which permanently doubles your chances of finding all geode types, and the Gemologist path, which massively increases the direct sell prices of all gems by thirty percent. Ultimately, making the choice for Miner or Geologist Star Dew dictates your entire early-game momentum. Carefully analyze your specific farm goals, precisely follow the internal game mechanics, and completely optimize your daily routine. Happy farming, and grab that pickaxe!
Leave a Reply