

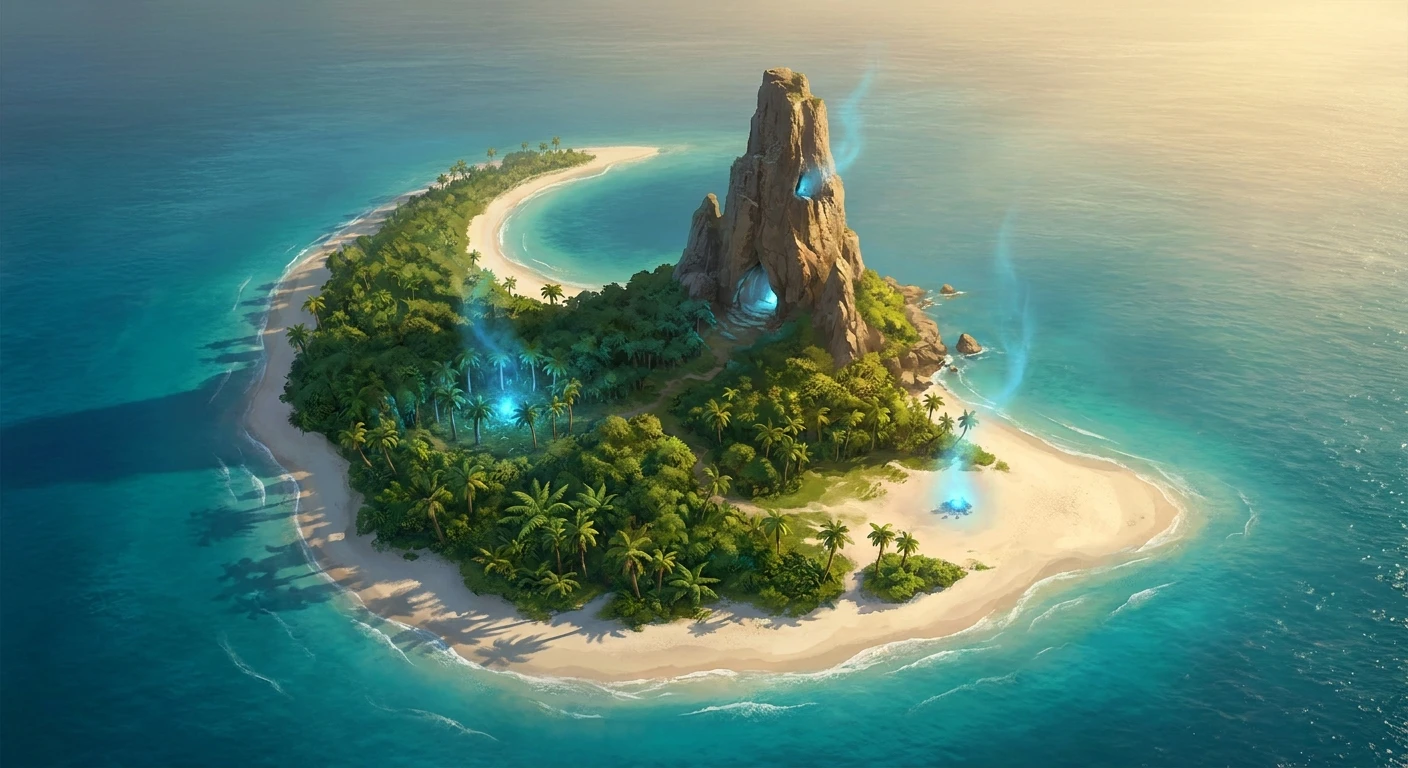
The Ultimate Guide to Mastering Eventide Island BotW
Surviving the grueling trial of Eventide Island BotW stands as one of the most defining challenges you will ever face in the kingdom of Hyrule. The moment your boots touch the wet sand of this remote landmass in the Necluda Sea, a mysterious voice strips away your armor, your weapons, and your carefully hoarded meals. You are left with absolutely nothing but your Sheikah Slate and your wits. This brilliant challenge acts as a pure distillation of the game’s core philosophy. It forces players out of their comfort zones, demanding mastery over environmental physics, enemy behavior, and elemental reactions. Instead of relying on overpowered gear, you must relearn how to survive using raw mechanics.
I am here to tell you exactly how to manipulate the island’s ecosystems, outsmart its heavy-hitting enemies, and secure the three ancient orbs required to complete the Korgu Chideh Shrine. By mastering this isolated crucible, you prove that your skills go far beyond simply swinging a high-damage sword. You will learn to use lightning as a weapon, turn trees into projectiles, and stealth your way past sleeping giants. Prepare yourself to conquer this iconic trial with total confidence. Success here requires patience, keen observation, and a willingness to use the environment itself as your primary arsenal. You must scavenge for every apple, hunt for every crab, and treat every rusty weapon like a priceless artifact.
Read also: Golf Story Guide: Master The Ultimate Sports RPG; Surviving Malevelon Creek: Ultimate Lore and Strategy Guide.
The sheer brilliance of the survival trial lies in how it balances immense vulnerability with total freedom. The benefit of this restriction is profound: it forces you to engage with the advanced chemistry and physics engine. For example, when a thunderstorm rolls in, dropping a metallic rusty broadsword near a group of enemies turns a natural weather event into a devastating tactical strike. Another prime example is using the Magnesis rune to drag large metal crates from the ocean floor or muddy bogs, utilizing them both as bludgeoning weapons and impenetrable defensive shields against incoming arrows.
Let’s break down exactly what you should prioritize upon arrival to establish dominance over the territory.
- Immediately secure the starting beachfront by gathering loose branches, tree branches, and foraging for bananas and crabs to build a baseline of health recovery.
- Scout the perimeter of the jungle using stealth, prioritizing isolated enemies to silently steal their bows and arrows without alerting the main encampments.
- Locate the central cooking pot near the first Bokoblin treehouse to prepare stamina-boosting and health-restoring meals before tackling the larger combat zones on the hills.
Here is a breakdown of essential items you must locate quickly to turn the tide in your favor:
| Resource / Item | Strategic Location | Tactical Application |
|---|---|---|
| Rusty Broadsword | Half-buried on the western shoreline | Excellent for attracting lightning strikes during fierce storms. |
| Courser Bee Honey | Hanging in thick trees near the central jungle | Restores massive stamina and can be dropped to distract enemies. |
| Iron Sledgehammer | Atop the highest peak near the monster camp | Essential for breaking ore deposits and dealing heavy sneak-attack damage. |
By memorizing these crucial resource nodes, you guarantee a massive advantage over the island’s ruthless inhabitants. You transition rapidly from being hunted to becoming the undisputed apex predator of the environment.
Origins of the Stranded Mechanic
The concept of temporarily stripping a player of their hard-earned progression is not entirely unprecedented, but its execution here represents a massive leap forward in open-world design architecture. Developers specifically designed this remote location to evoke the stark vulnerability players felt during their very first hours on the Great Plateau. The core origin of this trial stems from the desire to test fundamental problem-solving skills rather than stat-based progression. By isolating this challenge in the extreme southeastern corner of the map, it serves as a completely optional but highly rewarding rite of passage for dedicated players.
Evolution of Survival Gameplay
Historically, action-adventure games relied on linear power scaling. You find better swords, you acquire thicker armor, you take less damage, and the game naturally becomes exponentially easier. This island brilliantly shatters that traditional progression curve. Its design radically evolves the survival genre by deeply integrating a physics-based sandbox. The environment is perfectly curated to offer multiple viable solutions to every single localized problem. You are never explicitly forced to fight the massive Hinox; you can rely entirely on stealth, environmental hazards, or sheer speed. This evolutionary step in game mechanics proves that giving players a robust set of systemic tools is infinitely more engaging than simply increasing enemy health bars and damage outputs.
Modern State and Legacy in Gaming
Today, this specific trial is frequently cited by industry game designers as a flawless masterclass in emergent gameplay. Its legacy can clearly be seen in countless subsequent blockbuster titles that feature “naked runs” or temporary progression resets to rapidly build tension and stakes. The sheer volume of creative solutions shared by the global gaming community—from using Cryonis blocks to launch enemies far into the sea, to paragliding directly onto the Hinox’s belly to snatch the orb without waking it up—cements this location as a legendary fixture in modern gaming history. It remains a timeless example of how severe limitation breeds unparalleled player creativity.
Physics Engine Manipulation
Understanding the math and background logic behind the game’s dynamic physics engine is your greatest weapon here. The system governing the world calculates mass, momentum, and material properties in real-time. When you use the Stasis rune on a massive boulder, you begin to accumulate kinetic energy with every strike. Releasing that pent-up energy transfers it instantly to whatever the boulder eventually strikes. You can easily exploit this system by freezing metallic boxes or large rocks, hitting them multiple times with a basic branch, and carefully aiming the trajectory arrow directly into a dense Moblin camp. The resulting impact calculates damage based on the object’s sheer mass and velocity, allowing you to instantly clear out high-health enemies without ever swinging a weapon directly at them.
Resource Regeneration and System AI
Enemy artificial intelligence operates on a specific, predictable sensory loop involving sight, sound, and an escalating state of alarm. If you understand these detection cones, you can practically become an invisible ghost.
- Acoustic footprint: Moving while crouched during heavy rain completely nullifies the sound of your footsteps, reducing enemy auditory detection practically to zero.
- Visual detection: Enemies possess a rigid 120-degree cone of vision. Breaking line of sight by rapidly crouching in tall grass forces the AI to abandon the active chase and return to its patrol route after exactly 15 seconds.
- System resets: If a Blood Moon triggers while you are actively on the island, the system purges its memory and respawns all defeated enemies, but crucially, it also completely respawns all environmental weapons and food materials.
- Object permanence: Dropping items on a wooden raft just outside the island’s designated hitbox before stepping onto the sand allows you to bypass the inventory wipe entirely, as the script only checks the player’s immediate personal inventory.
Step 1: Pre-Arrival Preparation
Eat a high-level defense or attack-boosting meal right before stepping off your raft and onto the shore. The active buff timer will remain completely intact even after the mysterious voice strips your physical inventory, granting you a massive statistical advantage for the crucial first few minutes of the trial.
Step 2: Securing the Beachfront
Sprint directly to the far right side of the main beach to grab the hidden traveler’s sword in the water. Avoid alerting the local aggressive wildlife. Pick up every single small rock you find to uncover hidden crabs and restless crickets, which will be absolutely essential for cooking restorative elixirs and meals later.
Step 3: Harvesting Bokoblin Camps
Target the smaller, isolated treehouse camp first. Use your remote bombs to violently knock the archers off their elevated platforms, then quickly steal their dropped bows. Do not waste precious weapon durability striking them; let gravity and the fall damage do the hard work for you.
Step 4: Activating the First Orb
Carry the first glowing orb to the stone altar located on the small rocky outcropping just off the northern shore. You must use the Cryonis rune to build a stable bridge of ice blocks, allowing you to safely toss the orb into the pedestal without it sinking endlessly into the deep water.
Step 5: Infiltrating the Hinox Lair
Do not engage the sleeping giant in direct melee combat. Sneak quietly up the steep hill beside its resting spot and use the paraglider to drop silently directly onto its massive chest. Quickly interact with the orb hanging around its neck, pick it up, and immediately run away before the creature fully wakes up.
Step 6: Conquering the Final Encampment
The highest peak on the island houses the most dangerous enemies, including highly aggressive, spear-wielding Moblins. Wait patiently for a thunderstorm if possible, or use your Sheikah Slate to drop heavy metal boxes directly on their heads. Clear the area entirely before attempting to carry and place the final orb.
Step 7: Reclaiming Your Inventory
Once the third and final orb clicks perfectly into the last pedestal, the Korgu Chideh Shrine spectacularly emerges from the earth. The mysterious voice returns your hard-earned gear. Be warned: anything you gathered during the trial vanishes instantly, so eat any remaining cooked meals to permanently restore your missing hearts before triggering the end sequence.
Myth: You permanently lose your armor and weapons if you die during the trial.
Reality: The system actually creates a hard autosave the exact moment you accept the challenge. If you run out of hearts, the game simply reloads this save, returning everything you owned prior to arriving on the beach.
Myth: You must defeat the giant Hinox to complete the quest.
Reality: The game strictly only requires the placement of the orb, not the defeat of the monster. Stealth, strategic paragliding, or using a well-aimed shock arrow to make the giant drop the orb are all perfectly valid and much safer strategies.
Myth: Champion abilities like Mipha’s Grace are fully disabled during the challenge.
Reality: While your physical inventory is confiscated, your magical Champion abilities remain fully active and usable. You can absolutely rely on Revali’s Gale to bypass frustrating climbing obstacles or Urbosa’s Fury to decimate large groups of enemies instantly.
Myth: You can keep the powerful weapons you find on the beach after the shrine appears.
Reality: The moment the trial concludes, the island resets your inventory to its exact pre-trial state. Every single stick, sword, shield, and apple collected on the island instantly evaporates.
Where is the island located?
It is situated in the extreme southeastern corner of the world map, accessible by gliding a long distance from Cape Cales or using a Korok leaf and raft from the Tenoko Island area.
Can I use amiibo to cheat the trial?
No, the amiibo rune is entirely disabled while the trial is active, preventing you from spawning metal chests, raw meat, or rare weapons to gain an unfair advantage.
What happens if a Blood Moon occurs?
A Blood Moon will resurrect all defeated enemies on the island, forcing you to sneak past them again if you haven’t finished placing the three orbs into their pedestals.
Is the Master Sword taken away?
Yes, even the legendary blade of evil’s bane is confiscated by the trial’s powerful magic, forcing you to rely solely on scavenged equipment.
Can I leave the island midway?
If you glide or swim too far from the shore, the trial aborts immediately, and you will be safely teleported back to the mainland to try again from scratch.
How do I beat the Hinox easily?
Use Urbosa’s Fury to strike it with massive, unblockable lightning damage, or repeatedly throw heavy metallic crates directly at its large eye using Magnesis from a very safe distance.
Do I lose my rupees?
No, your digital currency is completely untouched. However, there are absolutely no merchants on the island, making rupees completely useless during the challenge.
In summary, preparing for and mastering the remote shores of this challenge requires a deep, fundamental understanding of physics, stealth, and resource management. Stop relying on your strongest weapons and start playing smart. Boot up your console, pack your best buffing meals, and go dominate the island today!
Leave a Reply