

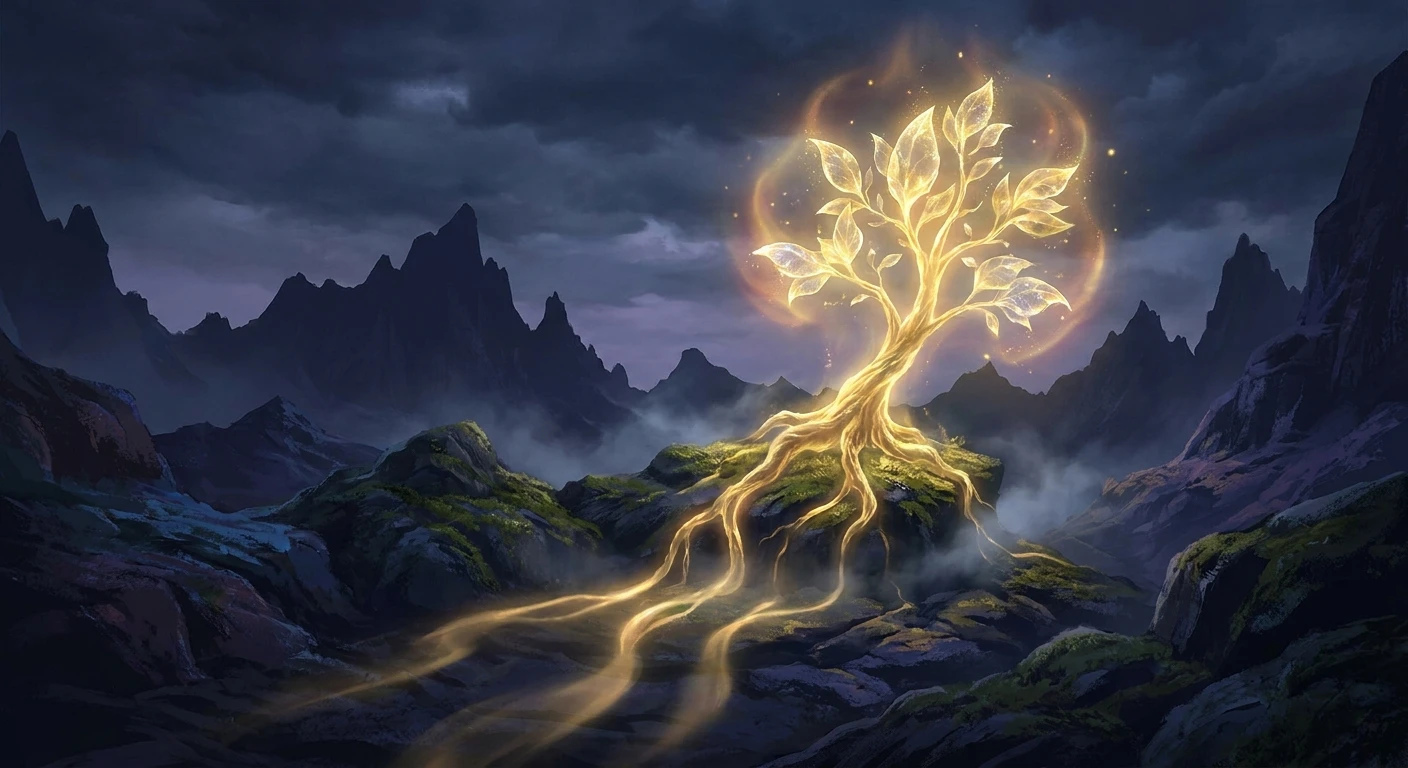
Golden Seed Acquisition: Mastering Your Core Survival Tool
Spotting a Golden Seed right when you step into the harsh, unforgiving environments of the Lands Between is an absolute game-changer. Listen, every player has been in that exact desperate situation—staring down an aggressive, massive boss with zero healing left, wishing they had just one more sip of their flask to clinch the victory. These brilliantly glowing remnants of the Erdtree are the absolute most critical progression items for expanding your health and magic restoration capabilities. Finding your first Golden Seed sets the pace for your entire playthrough, dictating how aggressively you can explore and how many mistakes you are allowed to make during combat encounters.
This comprehensive breakdown explains exactly what these items are, how their upgrade mechanics scale throughout your journey, the rich lore history behind their sudden appearance across the map, and a highly efficient, rigorously tested route to gather them as early as possible. When you understand the sheer mathematical value of a Golden Seed, you stop wandering aimlessly and start actively prioritizing the glowing phantom saplings that hold them. Having an optimized flask count prevents unnecessary deaths, keeps your exploration momentum incredibly high, and fundamentally changes how you approach the most punishing regions of the game.
Read also: Power Rod Room Arc Raiders Survival Guide; Craft Your Ultimate bg3 masterwork weapon Today.
The Core Benefits and Upgrade Mechanics
The primary function of a Golden Seed is incredibly straightforward yet mathematically profound: it permanently increases the total number of Sacred Flask charges you can carry. By resting at any Site of Grace, you can navigate to the flasks menu and offer these seeds to expand your total inventory of healing or magic restoration uses. This mechanic is the absolute backbone of your survival strategy, scaling directly with the increasing difficulty of the enemies you face.
The value proposition of prioritizing these upgrades cannot be overstated. Consider two vastly different character builds as examples. A heavy-armor melee fighter might allocate their expanded charges to have ten Crimson Tears for health and only two Cerulean Tears for weapon arts, allowing them to endure prolonged physical skirmishes. Conversely, a dedicated sorcerer might split their newly expanded flask pool evenly, ensuring they have enough magic points to cast high-damage spells while keeping just enough health restoration to survive an ambush. This flexibility is what makes hunting down every accessible Golden Seed a top priority for any serious player.
Here is how the upgrade progression scales as you progress through the game:
| Current Flask Count | Golden Seeds Required | New Total Charges |
|---|---|---|
| 4 to 5 Flasks | 1 Seed | 6 Flasks |
| 6 to 7 Flasks | 2 Seeds | 8 Flasks |
| 8 to 9 Flasks | 3 Seeds | 10 Flasks |
| 10 to 11 Flasks | 4 Seeds | 12 Flasks |
| 12 to 13 Flasks | 5 Seeds | 14 Flasks (Maximum) |
Prioritizing these upgrades early provides three massive tactical advantages:
- Immediate Combat Sustain: Having extra healing directly translates to surviving attacks that would otherwise force you to restart from a distant checkpoint.
- Exploration Longevity: With more resources, you can push deeper into legacy dungeons without needing to retreat and reset enemy spawns.
- Build Flexibility: A larger flask pool allows hybrid characters to experiment freely with resource-heavy weapon skills and incantations without the fear of running dry mid-battle.
Origins of the Illusory Trees
The existence of the Golden Seed is deeply tied to the foundational lore of the Lands Between. Long before the current era of strife, the great Erdtree stood absolute and perfect, showering the lands with its golden grace. During this golden age, the tree did not produce seeds, as it was eternal and unchanging. However, an apocalyptic event fundamentally altered the nature of the world. When the Elden Ring was shattered, the overwhelming cosmic shockwave caused the Erdtree to instinctively scatter its essence as a survival mechanism.
Evolution During the Shattering
As the massive wars of the Shattering raged across the continents, these scattered remnants took root in the soil. They did not grow into towering trees, but rather manifested as glowing, ethereal saplings. These illusory trees serve as a visual echo of the original Erdtree’s grace. Because the world was fractured and dying, the saplings could not mature; instead, they pooled their remaining life force into a single, perfectly preserved Golden Seed nestled at their base. The very presence of these saplings is a direct historical record of the Erdtree’s desperate attempt to reproduce after suffering a fatal blow.
Modern State in the Lands Between
Today, for a Tarnished warrior returning to the Lands Between, these saplings serve as beacons of hope amidst utter devastation. You will often find them sprouting in areas of intense magical concentration, near the ruins of ancient capitals, or along the roads where major historical armies once marched. Some incredibly powerful and corrupted creatures, like the Ulcerated Tree Spirits, have even consumed these seeds, hoarding their power internally. Defeating these monstrous anomalies is sometimes the only way to pry the corrupted Golden Seed from their roots.
Flask Scaling Mathematics
To truly master your resource management, you must understand the rigid mathematical scaling behind the Golden Seed mechanic. The system utilizes a strict diminishing returns model. At the very beginning of your journey, a single seed grants an immediate return on investment by providing a full extra flask charge. However, as your character grows more resilient, the cost of expanding your inventory increases dramatically. By the time you are preparing for the final encounters, you will be paying five entire seeds just to squeeze out one final charge. This mechanic forces players to scour the most dangerous corners of the map, as the easily accessible early-game seeds simply will not suffice for late-game upgrades.
Inventory and Cap Mechanics
Understanding the hard limits of the game’s code is essential for optimizing your time. There is a precise ceiling to how powerful your character can become regarding resource capacity. Here are the absolute factual mechanics governing these items:
- Maximum Flask Limit: The game strictly caps your total combined flasks (health and magic) at 14 charges.
- Total Seeds Required: You must collect exactly 30 seeds to upgrade from the base starting amount to the absolute limit of 14.
- Total Available on Map: The developers placed roughly 43 to 45 seeds throughout the base game, offering a generous margin of error for players who miss hidden areas.
- Unusable Excess: Once you hit the maximum cap of 14 flasks, any additional seeds you pick up simply sit in your inventory permanently; they cannot be sold, traded, or utilized for any other crafting purpose.
Step 1: Selecting the Keepsake
The absolute fastest way to accelerate your early game is to select the Golden Seed as your starting Keepsake during character creation. This immediately grants you an extra flask charge the second you step out of the tutorial area, giving you a massive 25% increase in your initial healing capacity before you have even drawn your sword against a real enemy.
Step 2: The Stormhill Shack Visit
After acquiring your spectral steed, ride immediately north through the gates toward Stormhill. Ignoring the giant trolls dropping from the sky, rush into the small, broken shack on the right side of the road. Here you will find a glowing sapling directly outside, offering an easy seed. Additionally, speaking to the NPC inside advances a quest that provides another resource later, making this an incredibly lucrative early stop.
Step 3: The Weeping Peninsula Push
Instead of facing the first major castle, turn completely around and head south across the Bridge of Sacrifice into the Weeping Peninsula. Follow the main road straight down toward Castle Morne. Right before the castle’s massive fortifications, you will spot an illusory tree standing plainly on the right side of the path. Grab this Golden Seed and retreat immediately if the giant archer starts firing at you.
Step 4: Fort Haight Outskirts
Travel back to the starting region and head far east into the misty woods. South of the Minor Erdtree in this region, you will find Fort Haight. Outside the main entrance to this small fort stands another glowing sapling. The enemies here are relatively weak, making this a completely stress-free acquisition that pushes your flask count even higher.
Step 5: The Caelid Highway Gamble
This step requires bravery. Ride east past the starting region into the red, rotting lands of Caelid. Stick strictly to the main southern highway. Eventually, you will pass a map fragment stele and see an illusory tree heavily guarded by terrifying creatures. You do not need to fight them; simply sprint past on your horse, mash the collection button to snatch the Golden Seed, and keep riding until you lose enemy aggression.
Step 6: The Academy Gate Town
Next, ride north past the first major castle into the flooded region. Head toward the massive ruined town sinking into the lake. Amidst the sunken rooftops and patrolling enemies, you will easily spot the bright gold glow of a sapling nestled in the center of the ruins. Snagging this brings your total to a highly comfortable level for early-game boss fights.
Step 7: Raya Lucaria Courtyard
After securing the key to enter the magical academy in the lake region, push through the first few hallways until you reach the large, open-air courtyard. Stick to the left side and avoid the massive rolling iron balls and spellcasters. Tucked away in a quiet corner of this courtyard is your seventh easy Golden Seed, solidifying a massive resource advantage for the challenges ahead.
Myth: Every seed on the map is required.
Reality: This is a major misconception that causes players unnecessary stress. The game requires precisely 30 seeds to reach the maximum capacity of 14 flasks, but there are over 40 scattered throughout the world. You can completely skip some of the most frustrating, hidden bosses and still easily max out your character’s inventory.
Myth: Upgrading with seeds makes your healing stronger.
Reality: A Golden Seed exclusively increases the total number of times you can drink from the flask. It does absolutely nothing to improve how much health or magic is restored per sip. To increase the potency of your healing, you must locate a completely different item called a Sacred Tear, which is exclusively found inside ruined churches.
Myth: They drop randomly from standard enemies.
Reality: These items are strictly fixed, hand-placed loot. They only ever spawn at the base of the glowing illusory saplings or as guaranteed, one-time drops from very specific elite bosses like the Ulcerated Tree Spirit. You can never farm them from regular foot soldiers.
Myth: You can trade them with friends in multiplayer.
Reality: Crucial progression items are completely locked to your specific character file. If you try to drop one from your inventory while playing cooperatively, other players will not be able to see or interact with the item. You must earn your own upgrades.
Can you sell excess seeds to merchants?
No. Once you have reached the hard cap of 14 flasks, any extra seeds you collect will sit permanently in your inventory. Merchants refuse to buy them, and they cannot be discarded. They remain as a simple trophy of your thorough exploration.
Do Ulcerated Tree Spirits always drop them?
Yes, the vast majority of the time. While most seeds are found peacefully resting at the base of glowing trees, the grotesque Ulcerated Tree Spirit bosses hidden in various catacombs and hero’s graves are guaranteed to drop one upon their initial defeat.
Does New Game Plus reset your flask upgrades?
Absolutely not. When you complete the game and restart the campaign in New Game Plus, you retain your maximum 14 flasks. Furthermore, all the illusory trees will respawn, meaning you will collect completely useless seeds throughout your second playthrough.
Are there new seeds in the DLC areas?
While expansion areas offer incredible new challenges, the core mechanics of the base game remain strictly intact. If you enter a massive new expansion region already holding 14 flasks, you will not find a new mechanic allowing you to upgrade to 15 or 16.
Can you accidentally destroy a glowing sapling?
No, the illusory trees are completely ethereal and indestructible. No amount of magical fire, heavy weapons, or enemy attacks can break the tree or lock you out of collecting the item resting at its roots.
Do they heal HP or FP?
The item itself does neither. It upgrades the container. You have complete freedom to allocate your expanded charges between the red flask for health points (HP) and the blue flask for focus points (FP) whenever you sit at a Site of Grace.
How many seeds does it take for the final upgrade?
Because of the brutal diminishing returns system, pushing your inventory from 13 total flasks to the absolute maximum of 14 flasks requires a massive investment of exactly 5 seeds all at once.
Conclusion: Take Action and Secure Your Survival
Understanding the exact utility, deep lore, and structural mathematics behind every single Golden Seed completely removes the frustration of early-game resource management. By following the targeted 7-step route provided above, you bypass hours of aimless wandering and instantly build a character capable of withstanding the harshest punishments the Lands Between can dish out. Do not wait until you are hopelessly stuck on a brutal boss—boot up your game, mount your spectral steed, and start hunting down these glowing beacons right now. Your future victories absolutely depend on it.
Leave a Reply