

Surviving mauer der toten Like an Absolute Pro
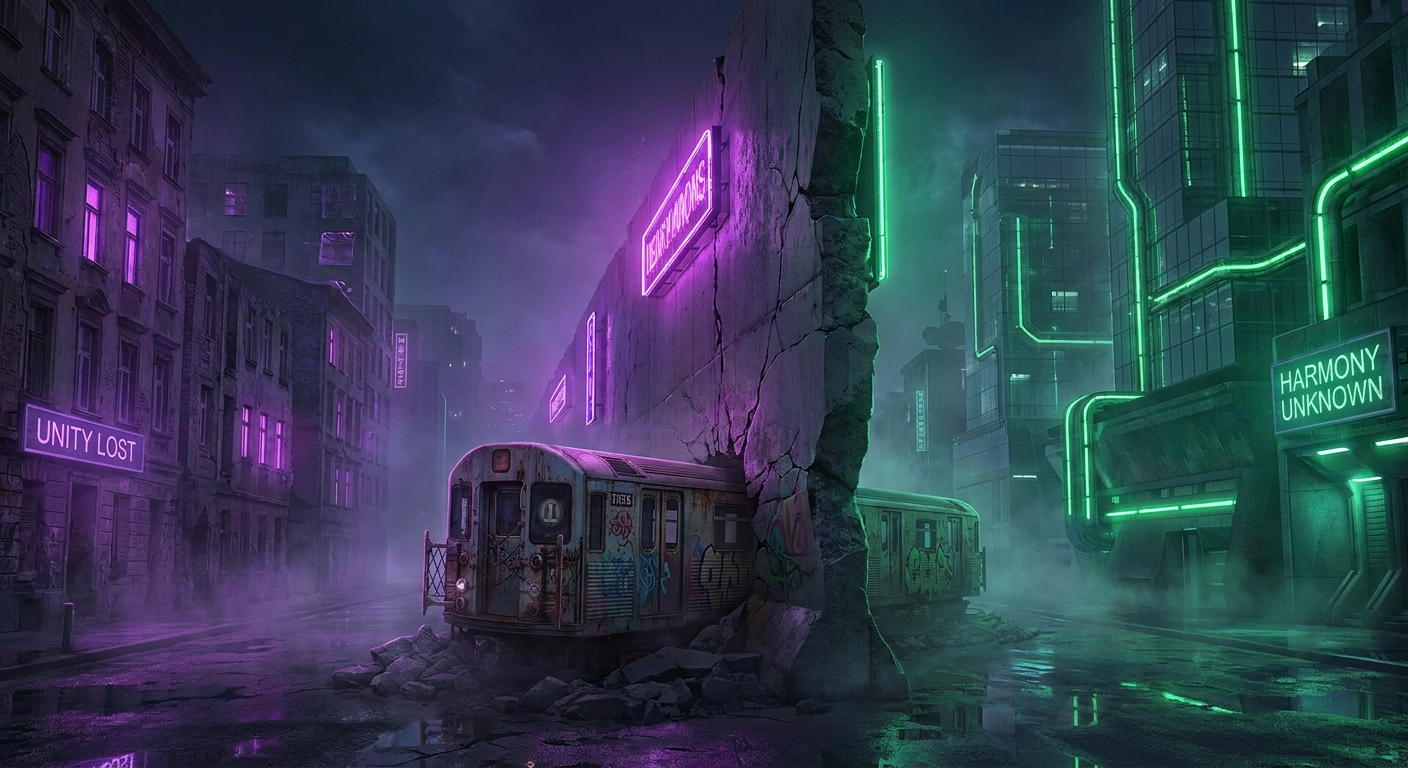
Trust me, if you are dropping into the chaotic streets of mauer der toten for the first time, you better pack a whole lot of patience and some seriously good headphones. This map shifts everything we know about high-round survival, combining tight urban spaces with extremely complex navigation mechanics. I still remember the exact night I first mastered this layout. I was sitting in my apartment in Kyiv, dealing with one of our unpredictable rolling blackouts, playing on a gaming laptop running strictly on battery power. The actual sirens echoing outside my window perfectly matched the grim, abandoned Berlin subway stations on my screen. It made the entire experience feel intensely raw and unforgettable.
Listen, friend, we are not just talking about mindlessly running in circles here. We are discussing how to master a complex concrete maze where every closed door, rooftop, and dark alley dictates whether you make it to the next round. The atmosphere is heavy, the layout is punishing, and the mechanics require sharp situational awareness. My goal is to walk you through exactly how to own this map from round one all the way to infinity, breaking down the exact routes, gear, and strategies you need to succeed. You will quickly see that preparation is your best friend when navigating these brutal, war-torn streets.
To truly dominate here, you need to understand the fundamental benefits and hazards of the map’s unique terrain. There are several value propositions that the map design offers if you know how to exploit them. For instance, verticality is your biggest asset. When you use the rooftops to your advantage, you control the flow of the enemies instead of letting them corner you in the streets below. Another huge benefit is the automated AI companion you can build. Having an extra set of hands guarding your back gives you the breathing room needed to upgrade your gear in peace.
Let me break down the core mechanics you need to track. Below is a quick overview of the most critical map features and how they directly impact your gameplay:
| Map Feature | Strategic Benefit | Inherent Danger Level |
|---|---|---|
| Zipline System | Allows instant vertical traversal to escape corners. | Medium (You can get swarmed at the landing zone) |
| Subway Trains | Excellent for rapid horizontal map rotation. | High (Extreme risk of being run over if timed poorly) |
| Automated Klaus | Provides heavy AI-controlled covering fire. | Low (Requires initial setup and battery management) |
To get your run off the ground, you absolutely must follow a strict early-game priority list. Do not just wander aimlessly; execute these steps:
- Activate the power grid as quickly as humanly possible, ideally by round five, so you can access the underground bunkers.
- Locate the AI parts hidden across the initial spawn zones to assemble your robotic companion before the difficulty spikes.
- Unlock the upgrade machine to scale your damage output immediately, ensuring you don’t fall behind the enemy health scaling.
- Secure a rooftop vantage point to funnel enemies into a single, predictable line of sight.
Following this precise list guarantees you establish a solid foundation before the chaos truly ramps up.
Origins of the Map
To appreciate what we are playing, you have to look back at the origins of this specific level design. The developers wanted to capture the stark, oppressive atmosphere of Cold War-era Berlin, literally split by the infamous wall. The concept was to force players into environments that felt claustrophobic yet expansive. The juxtaposition of the dark, sprawling underground subway systems against the neon-lit rooftops created a playground that felt completely fresh. It was a massive departure from the wide-open spaces of previous iterations, demanding a much more tactical, close-quarters mindset.
Evolution of Map Design
As the updates rolled out, the evolution of the layout became clear. Early playtesting showed that players were getting trapped too easily in the alleyways, which is exactly why the zipline system was heavily expanded prior to release. The developers tweaked the verticality, adding multiple escape routes that completely changed the pacing. You were no longer just holding out in a corner; you were actively moving, grappling up buildings, and dropping down into the subway to stay one step ahead. It evolved into a high-speed game of cat and mouse where momentum was your only shield.
Modern State of Survival Maps
Now that we are deep into 2026, looking back at the golden era of survival maps, this specific location stands out as a masterclass in environmental storytelling and pacing. The modern community still heavily debates the optimal strategies because the map is just that well-designed. While newer games try to replicate this formula, very few hit the exact sweet spot of difficulty, atmosphere, and reward. It remains a legendary benchmark for what tight, urban survival should feel like, constantly challenging both veterans and newcomers alike.
Technical Pathing Algorithms
Let us get slightly technical for a moment, because understanding the underlying mechanics will save your life. The enemies in this game do not just run directly at you; they operate on complex pathing algorithms. When you stand on a rooftop, the game engine calculates the shortest distance from dozens of spawn nodes scattered across the map. If you drop down to the street level, the pathing instantly recalculates. This dynamic routing means you can actively manipulate enemy flow by breaking their line of sight or forcing them to climb over obstacles. By understanding these invisible geometry lines, you can create massive, controllable trains of enemies.
Artificial Intelligence Assistance
The AI companion, Klaus, is another brilliant technical achievement. He does not just shoot randomly. His targeting logic is based on threat proximity and your immediate line of sight. If you understand how his code prioritizes targets, you can use him as a literal shield. Here are a few technical facts about how the game calculates your survival parameters:
- Enemy spawn nodes activate strictly within a 30-meter radius of the player’s current coordinate.
- The pathing engine recalculates enemy trajectories every 0.2 seconds based on your elevation changes.
- Zipline usage grants a brief 1.5-second invulnerability frame, allowing you to bypass collision detection.
- Klaus utilizes a node-based logic system to prioritize enemies that breach your immediate 5-meter safety perimeter.
Mastering these technical nuances allows you to play the engine, not just the game.
Alright, you need a foolproof plan. I have put together a rigid step-by-step roadmap to get you perfectly set up. Follow this precisely, and you will dominate.
Step 1: The Initial Spawn Strategy
Spend your first three rounds entirely in the starting area. Do not open any doors yet. Rely purely on melee attacks and your starting pistol to maximize your points. You want to accumulate at least enough currency to buy your way through the first three barricades without pausing. This early greed pays off massively when you need to rush the power switches.
Step 2: Accessing the Underground
Once you have your points, sprint directly toward the subway access doors. Ignore the side alleys. Your sole objective is to navigate the darkened train tunnels to find the generator room. Keep your flashlight aimed at the ceilings to spot enemies dropping down from the grates. Speed is your biggest asset here.
Step 3: Activating the Generators
Turn on both power switches located in the basement. This immediately restores electricity to the entire city block, turning on the streetlights and activating the perk machines. Once the power is flowing, the map opens up completely, but be warned: this also triggers the first wave of specialized, heavier enemies.
Step 4: Building the AI Companion
Now, retrace your steps to collect the robotic hands and the battery pack hidden in the debris. Install these parts into the dormant robot sitting in the safehouse chair. Once activated, he becomes your personal bodyguard, drawing aggro and easily locking down entire corridors while you catch your breath.
Step 5: Upgrading Your Arsenal
Head to the central checkpoint to access the upgrade machine. You must boost your primary weapon’s damage output before round 10. The enemy health scaling becomes brutal at this point, and an un-upgraded weapon will quickly feel like a toy. Prioritize damage upgrades over mobility perks initially.
Step 6: Securing the Wonder Weapon
You need to complete the mini-quest to unlock the specialized, energy-based wonder weapon. This involves finding three hidden codes scattered around the apartment buildings and entering them into a specific safe. This weapon is completely non-negotiable for high-round survival, as its area-of-effect damage clears entire streets instantly.
Step 7: High Round Positioning
Once you are fully geared, your permanent home should be the Korber rooftop. It offers two distinct zipline escape routes and a massive open space to maneuver. You can run large circular patterns, grouping enemies together before turning around to unleash your upgraded weaponry. If things get too hot, zip away, reset, and climb back up.
Over the years, a lot of terrible advice has floated around the community. Let me clear up a few misconceptions right now.
Myth: You absolutely need the specialized wonder weapon by round 10, or your run is completely dead.
Reality: Standard wall weapons, if upgraded properly, are more than capable of carrying you comfortably to round 25. Do not panic and restart your game just because you had bad luck with the mystery box.
Myth: The subway platforms are the absolute safest place to camp because they have a low ceiling.
Reality: The subway is an absolute death trap. The unpredictable spawn rates from the side vents and the sheer speed of the passing trains make it mathematically the most dangerous zone on the map.
Myth: The AI companion, Klaus, becomes entirely useless and stops doing damage on higher rounds.
Reality: If you take the time to fully upgrade his chassis through the side quests, his damage output scales beautifully, and he can literally save your entire run when fully maxed out.
How do I turn on the power quickly?
You need to open the doors leading down into the subway tunnels, navigate past the abandoned trains, and flip the two distinct switches located in the basement generator rooms.
Where exactly is the upgrade machine?
Once you restore power, the machine physically assembles itself at the central military checkpoint on the surface streets. You cannot miss it once the lights turn on.
Can I play this map successfully solo?
Absolutely. In fact, many players find solo play easier because you can perfectly control the enemy pathing without teammates messing up your carefully planned routes.
What is the absolute best camping spot?
The Korber rooftop is universally agreed upon as the best spot. It offers wide areas to maneuver and immediate zipline access if you get overwhelmed.
How do I upgrade Klaus?
You have to guide him to specific kill stations around the map where he absorbs enemy energy. Once he gets enough eliminations, you can install new hardware into his chassis at his home station.
Is the specialized energy weapon worth the effort?
Yes, 100 percent. The CRBR-S is arguably the most powerful tool on the map, especially with its multiple modular attachments that drop from defeated enemies.
How do the ziplines actually work?
You just walk up to a zipline anchor point and interact with it. It instantly transports you vertically or horizontally, granting you a tiny window of invulnerability during the animation.
Do enemies spawn endlessly?
Enemies spawn in distinct waves or rounds. Once you eliminate the set number for that specific wave, the round ends, giving you a very brief window to buy gear before the next wave begins.
What happens if a train hits me?
It is instant elimination. Keep your eyes and ears open when navigating the subway tunnels, as the flashing lights indicate an approaching train.
There you have it. You now possess the exact knowledge required to tackle this map like a true veteran. We are living in 2026, and the strategies for this iconic map are sharper than ever. I sincerely hope this massive breakdown helps you crush your next run and reach a new personal best. Now, load up your gear, get out there, and dominate the streets. Be sure to drop a comment below letting me know what your highest round is so far!
Leave a Reply