

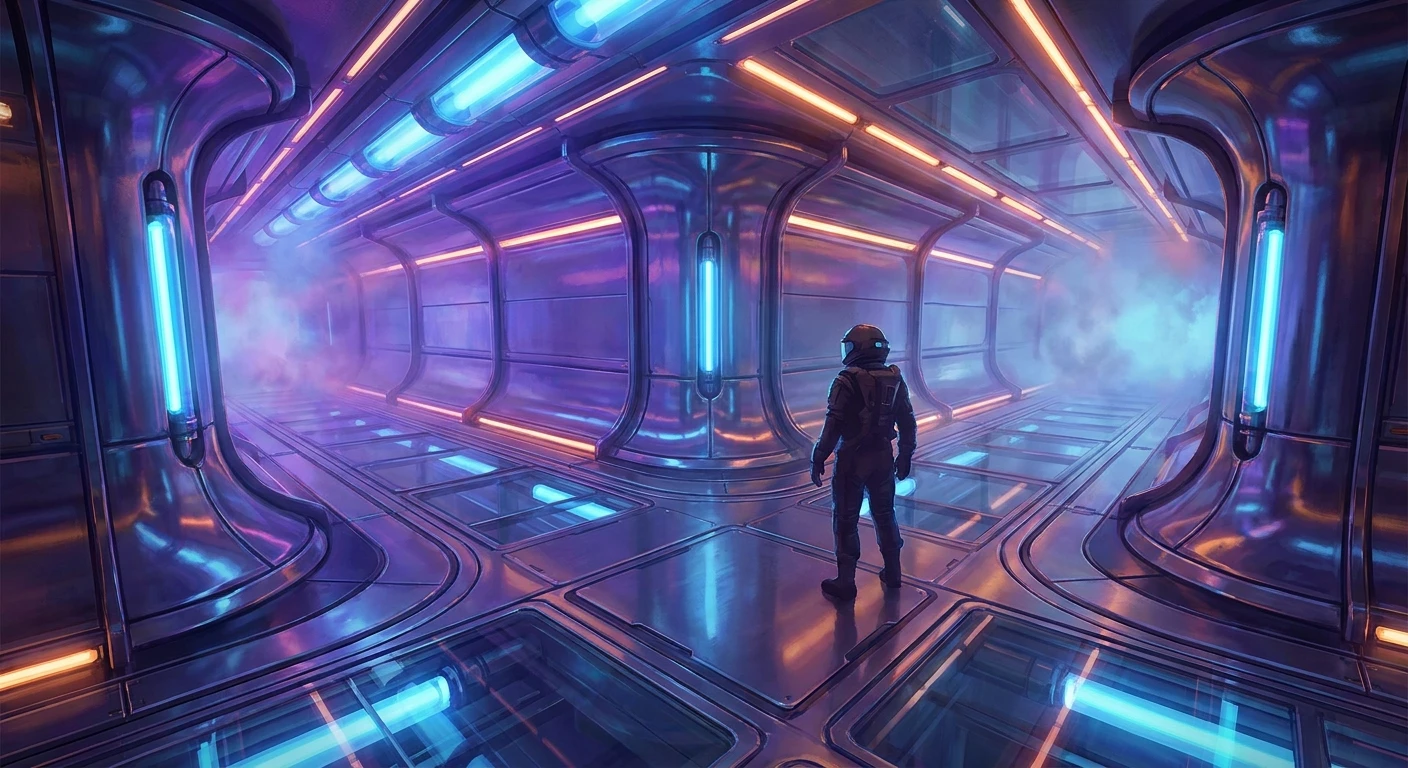
The Ultimate Metroid Dread Walkthrough
Finding a reliable Metroid Dread walkthrough is exactly the move you make when Planet ZDR stops playing nice. You drop into this incredibly hostile alien environment, and right away, things go completely sideways. Samus Aran gets stripped of her powers, thrown to the lowest depths of the map, and left to fend for herself against indestructible robotic hunters. Navigating this massive, labyrinthine world demands sharp reflexes, intense patience, and a solid sense of direction. This is not a simple walk in the park; it is a brutal test of your survival skills. The map twists and turns, locking you out of previous areas while forcing you into terrifying encounters where you have to run for your life. That is exactly why you need a concrete plan.
I know the feeling of wandering through cold, metallic corridors, completely lost, low on health, and hearing that dreaded mechanical beep getting closer. You want to make fast progress without endlessly hitting dead ends. A strategic approach keeps you moving forward, ensuring you grab the crucial upgrades like the Morph Ball, Varia Suit, and Plasma Beam right on schedule. Let’s break down the optimal routing, boss strategies, and survival tactics you need to clear the game effortlessly.
Read also: Power Rod Room Arc Raiders Survival Guide; Ultimate hogsmeade demiguise map Guide.
Why do you need a structured path? Without one, backtracking becomes a nightmare. Planet ZDR is densely packed with secrets, fake walls, and one-way doors that intentionally disorient you. Having a game plan brings huge benefits. First, it completely eliminates the frustration of wandering aimlessly. You always know which elevator or teleporter to take next. Second, it prepares you for boss fights by ensuring you have enough Missiles and Energy Tanks before stepping into the arena. Check out this quick reference table detailing the core regions, the major threats you face there, and the critical upgrades you need to hunt down.
| Region of ZDR | Major Boss Threat | Critical Game Upgrade |
|---|---|---|
| Artaria | Corpius | Charge Beam & Phantom Cloak |
| Cataris | Kraid | Varia Suit & Diffusion Beam |
| Dairon | Yellow E.M.M.I. | Morph Ball & Bomb |
| Burenia | Drogyga | Flash Shift & Gravity Suit |
| Ghavoran | Golzuna | Super Missile & Cross Bomb |
To really master the flow of this adventure, you have to nail down a few core mechanics that the game does not fully explain. Keep these three essential survival rules in mind as you explore:
- Mastering the Melee Counter: Timing is everything. When an enemy flashes right before an attack, hitting the melee button allows you to instantly destroy them and recover extra health and ammo. It is mandatory for boss fights.
- Mapping the Unseen: Always shoot walls, floors, and ceilings. The map design relies heavily on hidden destructible blocks. If you are stuck, a random missile into a suspicious corner is usually the answer.
- E.M.M.I. Zone Strategy: Do not try to fight them until you unlock the Omega Cannon for that specific zone. Use the Phantom Cloak, move slowly, and rely on the slide mechanic to bypass them.
Origins of the 2D Bounty Hunter
The legacy of Samus Aran dates back to the original NES era, setting the gold standard for non-linear exploration. The entire genre of “Metroidvania” stems from that distinct feeling of finding an upgrade and realizing it opens up half a dozen locked doors you passed an hour ago. For decades, fans obsessively mapped out Super Metroid, perfecting the art of sequence breaking and speedrunning. The core loop of isolation, discovery, and empowerment became a massive staple in gaming culture.
Evolution of the X Parasite Arc
The story directly follows the events of the 2002 Game Boy Advance classic, Metroid Fusion. For nearly two decades, fans waited to see what happened to Samus after she absorbed the X Parasite and went rogue against the Galactic Federation. The developers took that heavy narrative baggage and built a suspenseful, horror-tinged sequel. Samus is no longer just a bounty hunter; she is a unique biological hybrid, and her DNA is the primary reason she is lured to Planet ZDR. The narrative seamlessly integrates her past, explaining why her suit changes and why she is so vulnerable at the start of the campaign.
Modern State of Speedrunning ZDR
Even now in 2026, the community completely rips this game apart to find new optimization strategies. Speedrunners utilize highly advanced glitches, wall jumps, and precise shinespark puzzles to skip entire regions. The developers actually embraced this culture. They intentionally left sequence breaks in the game, allowing skilled players to grab the Grapple Beam or Bombs far earlier than the intended route. This level of freedom is exactly what makes the map design so brilliant. You can play it the standard way your first time, and completely break the intended path on your second run.
The Geometry of Sequence Breaking
Behind the beautifully rendered environments is a highly complex collision engine. The 2.5D graphics run on a specialized engine that calculates Samus’s hitbox at lightning-fast speeds. Every single slope, ledge, and destructible block operates on a strict grid system. When players execute advanced maneuvers like the “pseudo-wave” trick to shoot through solid walls, they are exploiting how the game registers the weapon’s physical properties. The engine briefly pushes the projectile’s hitbox past a microscopic gap in the environmental geometry, triggering switches that are supposed to be locked.
A.I. Programming of the E.M.M.I.
The robotic stalkers are not just following preset paths. They utilize a dynamic hunting AI that constantly listens for your inputs. Their programming is designed to adapt to your playstyle, forcing you to stay highly unpredictable. Here are some technical facts about how the game tracks you:
- The AI calculates sound waves generated by Samus’s footsteps, jumping, and shooting.
- If you activate the Phantom Cloak while in the robot’s direct line of sight, the AI will predict your trajectory and move to where it thinks you are going.
- Room transitions stream seamlessly in the background memory to ensure the chase never pauses for a loading screen.
- The timing window for the emergency parry when caught is completely randomized, preventing you from simply memorizing a rhythm.
Step 1: Escaping Artaria and Securing the Charge Beam
Your journey begins in the flooded, rocky caverns of Artaria. Your priority here is purely survival. Follow the linear paths, use your standard beam to clear small enemies, and make your way to the water control rooms to alter the water levels. The main objective is defeating the local E.M.M.I. using the Omega Cannon obtained from the Central Unit. Once it is destroyed, you secure the Spider Magnet, allowing you to climb blue magnetic walls. Shortly after, you will face Corpius. Aim for its glowing tail, slide under its massive strikes, and you will secure the Phantom Cloak.
Step 2: Routing Thermal Energy in Cataris
Next, you take the elevator to Cataris, a region filled with extreme heat and magma. You cannot survive the red-hot rooms yet, so stick to the cooler industrial zones. Your primary task is to reroute the thermal energy by interacting with massive control terminals. Doing this opens up new pathways. You will eventually face Kraid, a massive recurring boss. Shoot missiles into his mouth, use the Spider Magnet panels to avoid his belly spikes, and secure the Varia Suit. This suit drastically reduces damage and completely protects you from heated rooms.
Step 3: Finding the Morph Ball in Dairon
Dairon is a high-tech facility suffering from a massive power failure. Navigate the dark rooms carefully, using your missiles to spot enemies. You need to activate the backup generators to restore power to the doors. The Yellow E.M.M.I. patrols here, and it is incredibly fast. Once you take it down, you finally get the iconic Morph Ball. This changes everything. You can now roll into tight spaces, access hidden tunnels, and backtrack to grab dozens of missile expansions you had to leave behind earlier.
Step 4: Navigating the Watery Depths of Burenia
Burenia slows your movement to a crawl because you lack the Gravity Suit. You have to rely on precise platforming and careful routing to get through the deep water sections. Make your way to the Flash Shift upgrade, which allows you to instantly dash forward in mid-air. This is crucial for bypassing motion-sensor doors and dodging fast boss attacks. The atmosphere here is eerie and atmospheric, heavily focused on puzzle-solving rather than intense combat.
Step 5: Conquering the Chozo Ruins of Ferenia
Ferenia is rich with Chozo lore and heavily guarded by elite soldiers. These mini-bosses require serious parry skills. Use the Flash Shift to dash behind them when they thrust their spears. In this region, you will hunt down the Storm Missiles, which allow you to lock onto multiple targets at once. This weapon is absolutely devastating and required to open specialized green switches scattered across the entire planet.
Step 6: Jungle Survival in Ghavoran
You then drop into Ghavoran, an overgrown, biological nightmare. The enemies here are aggressive and deal massive damage. Your goal is to navigate the massive underground flora, acquire the Super Missiles, and track down the Spin Boost. The boss Golzuna awaits you here. Keep your distance, use Cross Bombs to avoid its charging attacks, and aim for the unarmored back. Ghavoran connects multiple zones together, acting as a massive hub for your final backtracking sweep.
Step 7: The Final Ascent to Itorash
With all your gear fully upgraded, return through the map using teleportals to gather any remaining Energy Tanks. Once you max out your health, head to the floating fortress of Itorash. This is where Raven Beak waits. The final fight demands absolute perfection. You must parry his glowing dash attacks, use the Morph Ball to slide under his massive beam sweeps, and unload Storm Missiles continuously. Stay highly aggressive; hesitating against him guarantees a quick defeat.
Myths & Reality
Myth: You have to follow the exact path the developers laid out or the game breaks.
Reality: The game heavily rewards sequence breaking. Skilled players routinely grab items totally out of order to create entirely new routes and slash hours off their clear times.
Myth: The E.M.M.I. robots instantly know where you are at all times.
Reality: They operate on a sound and sight detection system. If you stand completely still and activate your cloak before they enter your room, they will pass right by you.
Myth: The final boss is purely an exercise in memorizing attack patterns.
Reality: While patterns matter, Raven Beak reacts dynamically to your spacing. Staying close forces him to use melee attacks that you can counter to regain health and ammo.
How long does it take to beat the game?
A standard first playthrough takes about 8 to 12 hours, depending on how much time you spend searching for hidden map upgrades.
Is there a penalty for dying to an E.M.M.I.?
No penalty at all. The game is incredibly generous with checkpoints, spawning you right outside the E.M.M.I. zone door so you can immediately try again.
Can I get the Gravity Suit early?
Yes, through a series of complex Shinespark maneuvers and underwater bomb jumps, speedrunners acquire it much earlier than intended.
How do I break the glowing yellow blocks?
Those blocks require the Power Bomb. You will not get this upgrade until very late in the adventure, so just ignore them during your initial exploration.
What is the secret ending?
There is no alternate story ending, but beating the game in under four hours on Hard Mode unlocks exclusive artwork celebrating the franchise history.
Does parrying work on every boss?
Almost all bosses have at least one specific attack that flashes briefly. Hitting the parry at that exact second triggers a cinematic counterattack sequence.
Where is the last energy tank?
Most players miss the heavily concealed tank in Ferenia. It requires a perfectly chained Shinespark jump spanning three different rooms to shatter a hidden block.
Surviving ZDR comes down to staying calm under pressure, mastering your mobility tools, and treating the map itself as a giant puzzle to be solved. If you hit a roadblock, take a breath, look for destructible walls, and trust your instincts. Bookmark this comprehensive guide, share it with a friend who is stuck on Raven Beak, and get back into the fight. Good luck, hunter!
Leave a Reply