

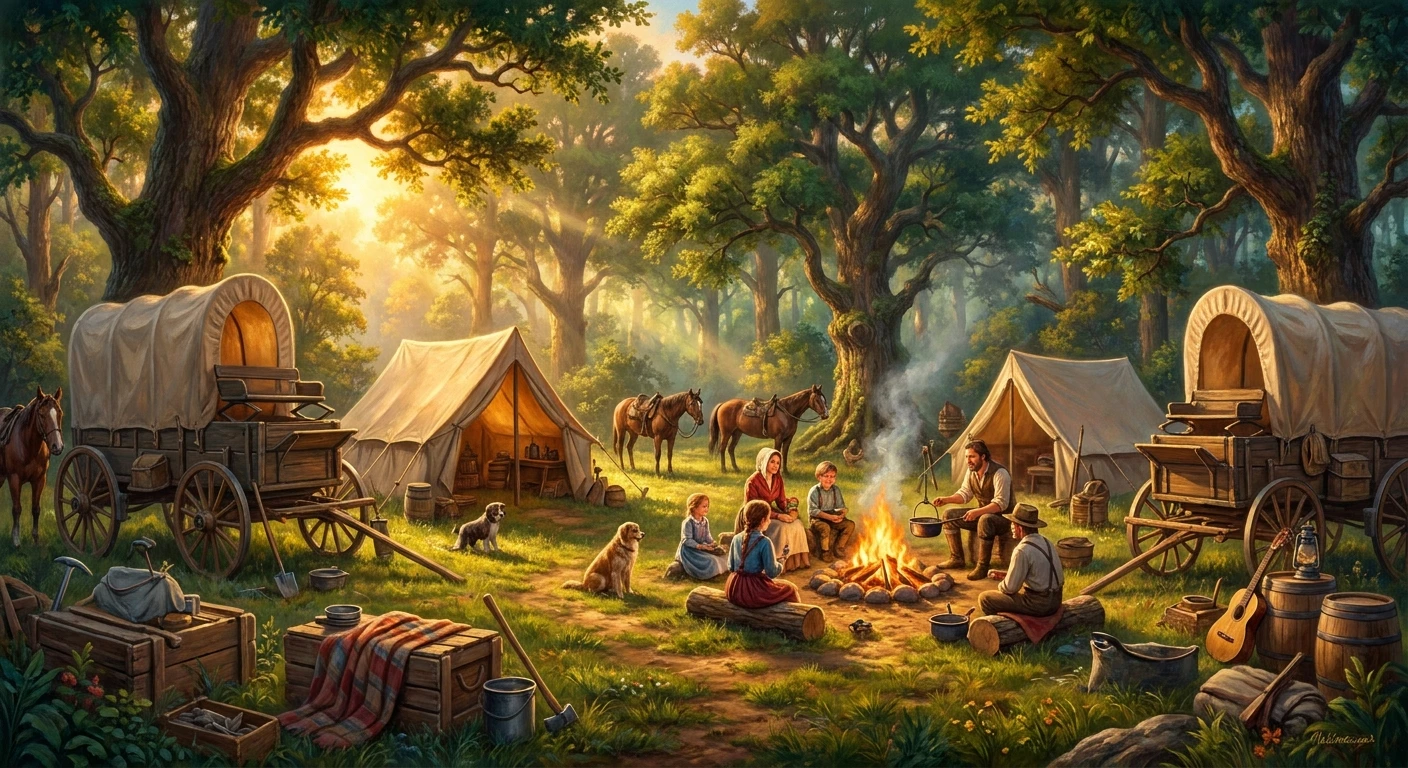
RDR2 Camp Requests: Enhancing Gang Dynamics
Navigating RDR2 camp requests is one of the most rewarding ways to interact with the Van der Linde gang throughout your journey across the American frontier. When Arthur Morgan spends time at the gang’s temporary settlements, various characters will casually mention items they need or desire. These tasks are entirely optional, yet they stand out as some of the most intricate relationship-building mechanics in the game. Fulfilling these requests does more than just clear an objective from your log; it helps foster Arthur’s relationships by providing unique dialogue, special rewards, and a deeper understanding of each companion’s backstory. Because many of these interactions are highly missable, understanding the timing and triggers is essential for any player looking to experience the full depth of the game. It is a brilliant system that rewards patience and careful observation. You must make it a habit to visit camp regularly to catch these fleeting moments. If you rush from one main story mission to the next, you will bypass these quiet, character-defining scenes entirely.
Understanding the Value of Companion Items
Fulfilling camp item requests provides a tangible benefit to your gameplay experience beyond simple narrative flavor. When Arthur goes out of his way to find a specific novel, a pocket mirror, or specialized crafting materials, the game acknowledges this effort with specialized rewards. These rewards often include unique clothing items, rare crafting materials, or a boost to Arthur’s honor meter, which in turn influences how the broader world reacts to him. The value proposition here is twofold: you gain mechanical advantages while simultaneously enriching the narrative atmosphere of the gang’s encampment.
Read also: When Does the New Overwatch Season Start? Find Out Now; Best Dispatch Romance Options.
Consider two prominent examples. If you manage to trigger Pearson’s specific request for a rabbit during Chapter 2, he rewards Arthur with a unique denim Scout Jacket that cannot be purchased in any general store. Similarly, finding a Penny Dreadful comic book for young Jack Marston earns you a chocolate bar and an endearing interaction that highlights Arthur’s softer side. To keep track of the most notable exchanges, refer to the breakdown below:
| Character | Requested Item | Chapter Availability | Reward |
|---|---|---|---|
| Mary-Beth | Fountain Pen | Chapter 2 | Gold Wedding Ring |
| Jack Marston | Penny Dreadful Comic | Chapter 2 | Chocolate Bar |
| Pearson | Naval Compass | Chapter 2, 3, 4 | Rum & Honor |
| Dutch van der Linde | Pipe | Chapter 2, 3, 4 | Spurs |
| Sadie Adler | Harmonica | Chapter 3, 4 | Gun Oil |
To successfully capture these moments without frustration, players should adopt a specific routine. Here are the most effective best practices for securing these interactions:
- Spend daylight hours at the base: Most characters operate on a diurnal schedule. Hanging around between 8:00 AM and 8:00 PM increases the likelihood of witnessing unique conversations.
- Listen for contextual cues: Characters will often be engaged in an activity—like Mary-Beth writing or Dutch smoking—before the prompt appears. Do not interrupt them; wait for the natural flow of dialogue.
- Manipulate the game state: If the camp feels stagnant, a reliable method is to save the game while in camp, sleep until the next morning, and walk around to reset the behavioral scripts of the NPCs.
History and Origins of the Camp System
Origins of Camp Interactions
The concept of a dynamic, interactive home base was a monumental leap forward for open-world design. Early iterations of action-adventure games relied on static quest givers who stood in one place, waiting endlessly for the player to initiate dialogue. Rockstar Games sought to shatter this illusion by creating a living ecosystem where the Van der Linde gang operates independently of Arthur Morgan. The developers mapped out daily routines for over a dozen individuals, ensuring they sleep, eat, work, and socialize on their own schedules. The item request system was born from this desire to make the player feel like a contributing member of a family rather than the sole engine of the game’s universe. It bridges the gap between cutscenes and free-roaming exploration.
Evolution of the System
As the narrative progresses, the physical location of the camp changes, and the collective mood of the gang shifts dramatically. This evolution directly impacts the companion requests. In the optimistic days of Chapter 2 at Horseshoe Overlook, requests are abundant and lighthearted. Characters ask for books, pens, and herbs. By the time the gang reaches the murky swamps in Chapter 4, the tone shifts, and the requests become sparser, reflecting the mounting desperation of the group. The system is designed to mirror the emotional trajectory of the story, making the act of finding a simple thimble or a bottle of whiskey feel distinctly different depending on the context of the current chapter.
Modern State of Completionist Strategies
Today, the gaming community has meticulously mapped out every single interaction within the game. Completionists have developed optimized routes to ensure no conversation is missed. Because players now know exactly when certain dialogue triggers become unavailable, meticulous planning has become a core part of subsequent playthroughs. Entire compendiums and video guides exist solely to direct players to the exact shack where Dutch’s pipe or Sadie’s harmonica spawns, transforming what was once a serendipitous discovery into a calculated checklist for achieving full game completion and unlocking related achievements.
Scientific and Technical Deep Dive
Trigger Conditions and Game Mechanics
Underneath the hood, the game relies on a complex web of state-machine logic and random number generation (RNG) to determine when a companion will ask for an item. The game engine continuously checks multiple variables: the current chapter, the time of day, Arthur’s proximity to the NPC, and whether the NPC is currently engaged in a conflicting animation loop. For instance, Pearson will only ask for a rabbit if he is stationed behind his stew pot, Arthur’s stamina core is depleted, and the in-game clock reads between 10:00 AM and 12:00 PM. If even one of these boolean checks returns false, the interaction will not trigger. This invisible architecture is what makes the world feel so organic, but it can also be a source of confusion for players who do not understand the underlying mathematical constraints.
Time-Limited Windows
One of the most critical technical aspects of these tasks is their strict expiration dates. The vast majority of these fetch quests are heavily tied to specific narrative milestones. A common community finding confirms that these ambient objectives cut out after chapter 4. Once the gang moves past this point in the storyline, the internal flags for previous requests are permanently disabled by the engine to maintain narrative continuity. Therefore, understanding the mechanical boundaries is just as important as knowing the geographical locations of the items.
- Proximity Triggers: The user interface prompt to “GIVE ITEM” only appears when Arthur is within a tight interactive radius of the specific NPC.
- Inventory Flags: The game checks Arthur’s satchel in real-time. If you sell a requested item to a fence before handing it in, the quest state reverts to incomplete until you acquire a duplicate.
- Story Progress Variables: Hard caps are placed on certain chapters; crossing a major mission threshold forcibly clears pending requests from the active task log.
- Animation States: NPCs locked in main-mission dialogue loops or guard duty animations cannot initiate or receive ambient item requests.
Actionable 7-Step Completion Plan
Step 1: Secure the Errand Boy Status
To maximize your efficiency, your primary goal early in the game should be tracking down five items to unlock the Errand Boy achievement. You do not need to fulfill every single request to earn this trophy, but hitting the quota of five is an excellent benchmark for Chapter 2.
Step 2: Retrieve Dutch’s Pipe
Dutch will mention wanting a pipe while smoking outside his tent. Once the request is active, ride out to Vetter’s Echo, a small cabin situated in the western region of West Elizabeth. Be prepared for a hostile wildlife encounter inside the cabin. Secure the pipe from the desk and return it for a unique pair of spurs.
Step 3: Find Mary-Beth’s Fountain Pen
Catch Mary-Beth writing in her journal during the daytime at Horseshoe Overlook. She will mention needing a new pen. You can locate this item at Osman Grove, a small shack located east of Emerald Ranch. The pen is resting on a table beside a grim scene, waiting to be claimed.
Step 4: Secure the Penny Dreadful for Jack
After completing the fishing mission with young Jack Marston, he will ask for a comic book. There are multiple spawns for Penny Dreadfuls across the map, including one at Clawson’s Rest, a secluded cabin in the Grizzlies. Finding just one is sufficient to complete the task and earn a sweet reward.
Step 5: Source Sadie’s Harmonica
This request becomes available slightly later in the narrative. Sadie Adler will ask for a harmonica after completing a specific mission with Arthur. The instrument can be found inside Granger’s Hoggery near Flat Neck Station, sitting quietly on a shelf. Return it to her to receive a specialized gun oil.
Step 6: Locate Pearson’s Naval Compass
Pearson will mention his naval days while playing poker at the main base. To fulfill his nostalgic request, travel to the Braithwaite Manor property in Lemoyne. Down by the water, there is a boathouse where the compass is sitting on a workbench. Returning this grants you a bottle of rum.
Step 7: Final Cleanup and Chapter Transitions
Because the availability spans roughly Ch. 2–4 + Epilogue for a select few specific encounters, your seventh step is an audit. Before initiating the bank robbery mission that concludes the fourth chapter, check your task log. Clear out any pending turn-ins, as leaving the region will automatically fail those unresolved tasks.
Myths and Reality
Myth: You can complete all character fetch quests at any time, even after finishing the main storyline.
Reality: The vast majority of these tasks are strictly time-sensitive and permanently expire once the gang relocates beyond the fourth chapter.
Myth: The requests generate completely at random and there is nothing you can do to force them.
Reality: While RNG plays a role, they are heavily dictated by specific times of day, NPC animation states, and Arthur’s core levels.
Myth: You must find every single requested item to achieve 100% total game completion.
Reality: You only need a fraction of them to unlock the necessary trophy, and the game does not penalize your overall completion percentage for missing the rest.
Myth: Selling a unique item like the fountain pen permanently locks you out of the quest.
Reality: Many items have multiple spawn points or will respawn at their original location after several in-game days if they are lost or sold.
Frequently Asked Questions & Conclusion
Are camp requests missable?
Yes, the vast majority are highly missable if you progress the story beyond their designated chapter boundaries without triggering or completing them.
How do I trigger Pearson’s scout jacket request?
You must approach Pearson at the stew pot in Chapter 2 between 10:00 AM and noon while Arthur’s stamina core is noticeably depleted.
Where is the fountain pen located?
It is found in a small shack called Osman Grove, located just east of the Emerald Ranch region.
Does the Errand Boy achievement require all requests?
No, you only need to complete any five requests across the entire playthrough to unlock the trophy.
Can John Marston complete Arthur’s requests?
John has a few specific tasks he can complete later, but he cannot fulfill the specific interactions tied to Arthur’s gang members from the early chapters.
Do these tasks affect honor?
Yes, completing these tasks grants a positive boost to your honor level, which can help unlock certain outfits and store discounts.
What happens if I sell a requested item?
If you sell the item, the quest remains active, but you must acquire another version of the item before you can turn it in.
Mastering these interactions adds a profound layer of depth to your time with the Van der Linde gang. By paying attention to the quiet moments and exploring the map thoroughly, you uncover the true heart of the game. Get back on your horse, ride out into the frontier, and start filling those requests today!
Leave a Reply