

Mastering the Shuro Chi Code for Optimal Farming
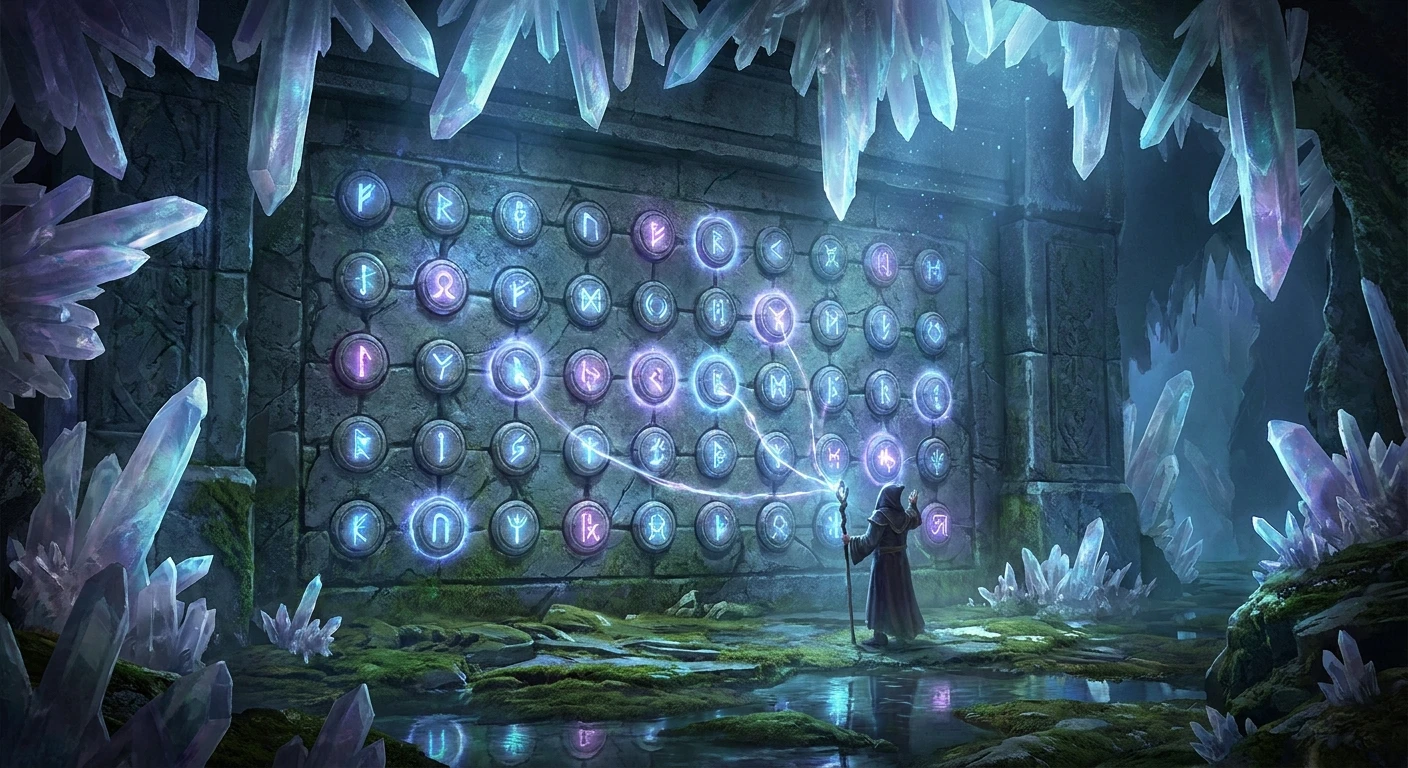
Entering the Shuro Chi Code correctly on the hidden Wall of Wishes remains the most efficient method to access the ultimate enemy farming checkpoint. For players seeking to maximize their time spent leveling up crafted weapons, completing deepsight resonance patterns, or unlocking exotic catalysts, this specific sequence is an absolute necessity. Bypassing the opening encounters of the Last Wish raid saves countless hours, teleporting your Guardian directly to a high-density enemy spawn zone. The mechanics behind this shortcut rely on precise input on a four-by-five grid of circular plates, each rotating through a sequence of sixteen distinct symbols when shot.
Understanding exactly how to navigate to the secret room, manipulate the plates safely, and utilize the resulting checkpoint dictates your efficiency. Firing the wrong weapon type or stepping on the activation plate prematurely resets the puzzle, wasting valuable time. Precision and preparation matter immensely. By optimizing your loadout before stepping through the teleportation portal, you guarantee a seamless loop of defeating waves of Taken enemies, wiping, and respawning with a full super and ammunition. This direct approach eliminates the friction of traditional strikes or seasonal activities where teammates compete for final blows, offering an isolated, controlled environment tailored entirely for your progression.
Read also: Thorn Catalyst Guide: Unlock Its True Power; Power Rod Room Arc Raiders Survival Guide.
Core Mechanics and High-Value Returns
The core mechanic of the Wall of Wishes revolves around visual pattern matching and careful weapon selection. Shooting a plate cycles its symbol, and inputting the Shuro Chi Code—officially recognized as the Fourth Wish—requires setting exactly fourteen specific plates to match their corresponding bird, snake, dragon, or fish symbols. The remaining six plates must remain blank. Using a weapon with explosive payload or ricochet rounds frequently triggers adjacent plates, ruining the sequence. A standard kinetic scout rifle or hand cannon provides the exact precision needed to manipulate the grid cleanly.
Once you activate the plates and step on the central disc, the game grants you the checkpoint. This checkpoint holds immense value because the encounter begins immediately with the placement of a Raid Banner, guaranteeing maximum heavy ammo and ability energy. The doors swing open, pouring out tightly clustered waves of Taken Thrall. You secure massive multi-kills, gain rapid weapon experience, and deliberately let the boss defeat you to reset the room, keeping your progress.
Consider the value proposition of this controlled loop compared to other activities:
- Example 1: Leveling a heavy machine gun. In strikes, heavy ammo is scarce. Here, a single Raid Banner fills your reserves, allowing you to complete five to ten weapon levels in minutes.
- Example 2: Completing a primary weapon catalyst. Standard open-world zones spawn enemies slowly. This checkpoint delivers roughly sixty to eighty enemies in less than two minutes.
| Farming Activity | Ammo Availability | Enemy Density per Minute |
|---|---|---|
| Open World Patrols | Random Drops | Low (10-15) |
| Vanguard Ops | Moderate | Medium (25-40) |
| Shuro Chi Checkpoint | Guaranteed (Raid Banner) | Extremely High (70-85) |
To execute this flawless farming loop, ensure you have the following necessities prepared in your inventory:
- A precision weapon without explosive perks to input the sequence.
- A large stack of Raid Banners purchased from the planetary vendor.
- The specific weapons or exotic catalysts you intend to upgrade.
- A subclass setup tailored for survivability, such as Devour or restoration buffs, to keep you alive while ignoring the boss mechanics.
Origins of the Wall of Wishes
The concept of a hidden, input-based secret mechanic debuted with the massive Forsaken expansion. Tucked away before the first major encounter of the Last Wish raid, developers created a massive cavern housing a blank grid. This grid served as a direct interface with the lore of the Ahamkara—wish-granting dragons that twist reality based on the desires of those who speak to them. The community spent weeks discovering various codes hidden on physical items, within cutscenes, and scattered across the Dreaming City patrol zone. The Shuro Chi Code was uncovered relatively early, providing a direct route to the game’s second major raid encounter without having to defeat Kalli, the Corrupted.
Evolution of Checkpoint Farming
Initially, players used this code simply to skip encounters they found difficult or to practice the specific boss fight without committing to a full raid clear. However, as the sandbox evolved and new progression systems were introduced, the utility of the checkpoint shifted dramatically. The introduction of weapon crafting revolutionized the economy. Suddenly, players needed to secure thousands of final blows with specific weapons to unlock enhanced perks. The dense, predictable spawn pattern of the Taken Thrall made this encounter the undisputed king of farming locations. The community rapidly transitioned from using the wish as a progression skip to treating it as a dedicated training ground.
Modern State of Raid Checkpoints
Today, utilizing the Shuro Chi Code is a foundational practice for serious players. While other farming locations occasionally emerge—such as specific story missions or dungeon checkpoints—none have matched the permanence and convenience of this exact room. The mechanics have remained completely unaltered by developers, cementing its status as an officially tolerated farming method. The combination of immediate Raid Banner placement, high enemy count, and rapid wipe mechanics ensures it retains its position as the premier location for efficient grinding.
Grid Geometry and Input Mechanics
The interface consists of twenty circular nodes arranged symmetrically in a four-by-five grid. The system operates on a linear cycling mechanism. Hitting a node with standard projectile damage advances its visual state to the next symbol in a strict sequence of sixteen possible images. The sequence is categorically grouped by animal type: fish, snakes, dragons, and finally birds, each facing different directions or performing distinct actions. Bypassing the intended symbol forces the player to shoot the node an additional fifteen times to loop back around, emphasizing the need for single-shot, deliberate impacts. The hitboxes for these plates are highly sensitive to splash damage, meaning a single stray explosive round can alter multiple plates simultaneously, ruining the grid configuration.
Enemy Spawn Algorithms and Engagement Metrics
The true scientific efficiency of the checkpoint lies in the enemy spawn algorithm triggers. The encounter relies on proximity and timing logic rather than random generation. Approaching the massive doorway triggers the initial wave of Shadow Thrall. As those entities are eliminated, the game engine tracks the remaining entity count, automatically triggering secondary and tertiary waves from the adjacent side doors. The engagement metrics are highly favorable:
- The initial wave consists of approximately twenty-five low-health melee enemies.
- The secondary waves spawn rapidly as soon as the first group drops below thirty percent population.
- The boss actively moves backward, allowing you to isolate the minor enemies without immediately triggering the wipe mechanic.
- The total yield per rotation averages between sixty-five and eighty-five valid targets before a manual wipe is required.
Step 1: Launch the Last Wish Raid
Select the Dreaming City destination from your director. Locate the Last Wish raid icon and launch directly into the activity. You will spawn in the standard drop zone. Proceed forward through the crystal caves until you reach the large open chamber housing the entrance to the first boss room.
Step 2: Navigate to the Secret Room
Instead of dropping down into the first encounter, turn left just before the precipice. Follow the glowing flora along the water’s edge, jump across the gap, and climb the series of hidden ledges. Ascend the rock face carefully until you locate the narrow tunnel leading directly into the hidden Wall of Wishes cavern.
Step 3: Understand the Symbol Sequence
Consult a visual reference of the Fourth Wish pattern. You must replicate this exact layout. Pay strict attention to the orientation of the animals—specifically the birds and dragons—as there are multiple variations of each creature. Ensure you know which plates must remain completely blank.
Step 4: Input the Grid Pattern Safely
Equip a kinetic weapon with standard ammunition. Stand centrally and shoot the plates systematically. Working row by row prevents accidental confusion. Confirm every symbol visually before moving to the next. If you shoot past the required symbol, calmly shoot it fifteen more times to reset the cycle.
Step 5: Activate the Plate
Once all fourteen symbols match the reference perfectly, step off the rocks and onto the glowing circular activation pad located on the floor in front of the wall. The game will momentarily pause, register the input, and quote the wish dialogue in the text feed before killing your character to trigger the teleportation script.
Step 6: Plant the Raid Banner
Upon respawning, you will find yourself in a tight corridor facing a large doorway. Immediately approach the glowing white circle on the floor and interact with it to plant your Raid Banner. Rally to the banner to completely refill your super energy, kinetic, energy, and heavy ammunition reserves.
Step 7: Execute the Farming Loop
Push toward the massive doorway. The moment the doors open, engage the swarm of Taken Thrall. Prioritize taking them out quickly to trigger the subsequent waves. Once the waves stop spawning and only the shielded boss and heavily armored knights remain, allow them to defeat you, or use an explosive weapon on yourself to wipe. You will respawn right back at the Raid Banner circle, ready to repeat the process.
Myths: Fiction vs Reality
Myth: Explosive payload kills count toward weapon leveling progress.
Reality: Kills secured by the explosive detonation rather than the actual projectile impact frequently fail to register for weapon experience, slowing down your progression.
Myth: You need a full six-player fireteam to properly input the pattern.
Reality: The entire sequence is designed to be accessible and easily completed by a solo player without any external assistance.
Myth: The checkpoint must be re-entered every single day.
Reality: Once you acquire the checkpoint, it remains on your character for the entire duration of the game’s weekly cycle, only resetting during the standard Tuesday weekly wipe.
Myth: Tethering enemies shares weapon experience across the entire group.
Reality: While it shares damage, final blows from shared tether damage often register as super kills, depriving your equipped weapon of the necessary experience points.
What is the exact pattern?
The Fourth Wish requires precisely fourteen plates altered to display specific fish, snake, bird, and dragon symbols facing distinct directions. Visual maps remain the most reliable way to replicate the complex grid accurately.
Do I need downloadable content to access this?
Access requires ownership of the Forsaken Pack, as the Last Wish raid is tied specifically to that expansion’s license.
Can I save the checkpoint?
Yes. After acquiring it, you retain the checkpoint for the remainder of the week. You can also share it with alternate characters by having a friend hold the instance while you swap.
What is the maximum kill count per run?
A highly optimized rotation yields between sixty-five and eighty-five minor enemy kills before you must deliberately wipe to reset the encounter room.
Are raid banners consumed?
Every time you plant a banner and rally, one is consumed from your inventory. You must maintain a healthy supply purchased from planetary vendors to sustain long farming sessions.
Can I use supers for weapon XP?
No. Kills secured with your subclass abilities or super attacks do not contribute any progression toward your equipped weapon levels or catalyst trackers.
Does dying ruin the run?
Dying is the core mechanic of the loop. Wiping purposefully resets the room, allowing you to replay the exact same wave of enemies continuously without losing your checkpoint.
Conclusion
Mastering the precise entry of the Shuro Chi Code provides unparalleled efficiency for progressing through weapon crafting and catalyst completion. By thoroughly understanding the mechanics of the Wall of Wishes, utilizing the correct non-explosive armaments for data entry, and executing the farming loop methodically, you maximize your time and resources. Prepare your loadouts, acquire plenty of Raid Banners, and secure your checkpoint today to vastly accelerate your progression goals.
Leave a Reply